
A clean, even laser weld comes from balancing three things: laser power, how fast you move the torch, and how the beam wobbles. Once you understand those controls, you can get the fusion the joint needs without burning through, warping the part or adding finishing work.
This post follows the Ascent Equipment Laser Welder 2000W User Manual (REV-2-2026), mainly Chapters 12A to 12D and the aluminum troubleshooting section. It applies to the Ascent 2000W refrigeration laser welder that manual covers, not to the STR Series. The starting values below are ranges to develop from. They aren't qualified production recipes or guaranteed penetration ratings.
Power sets how much energy you have
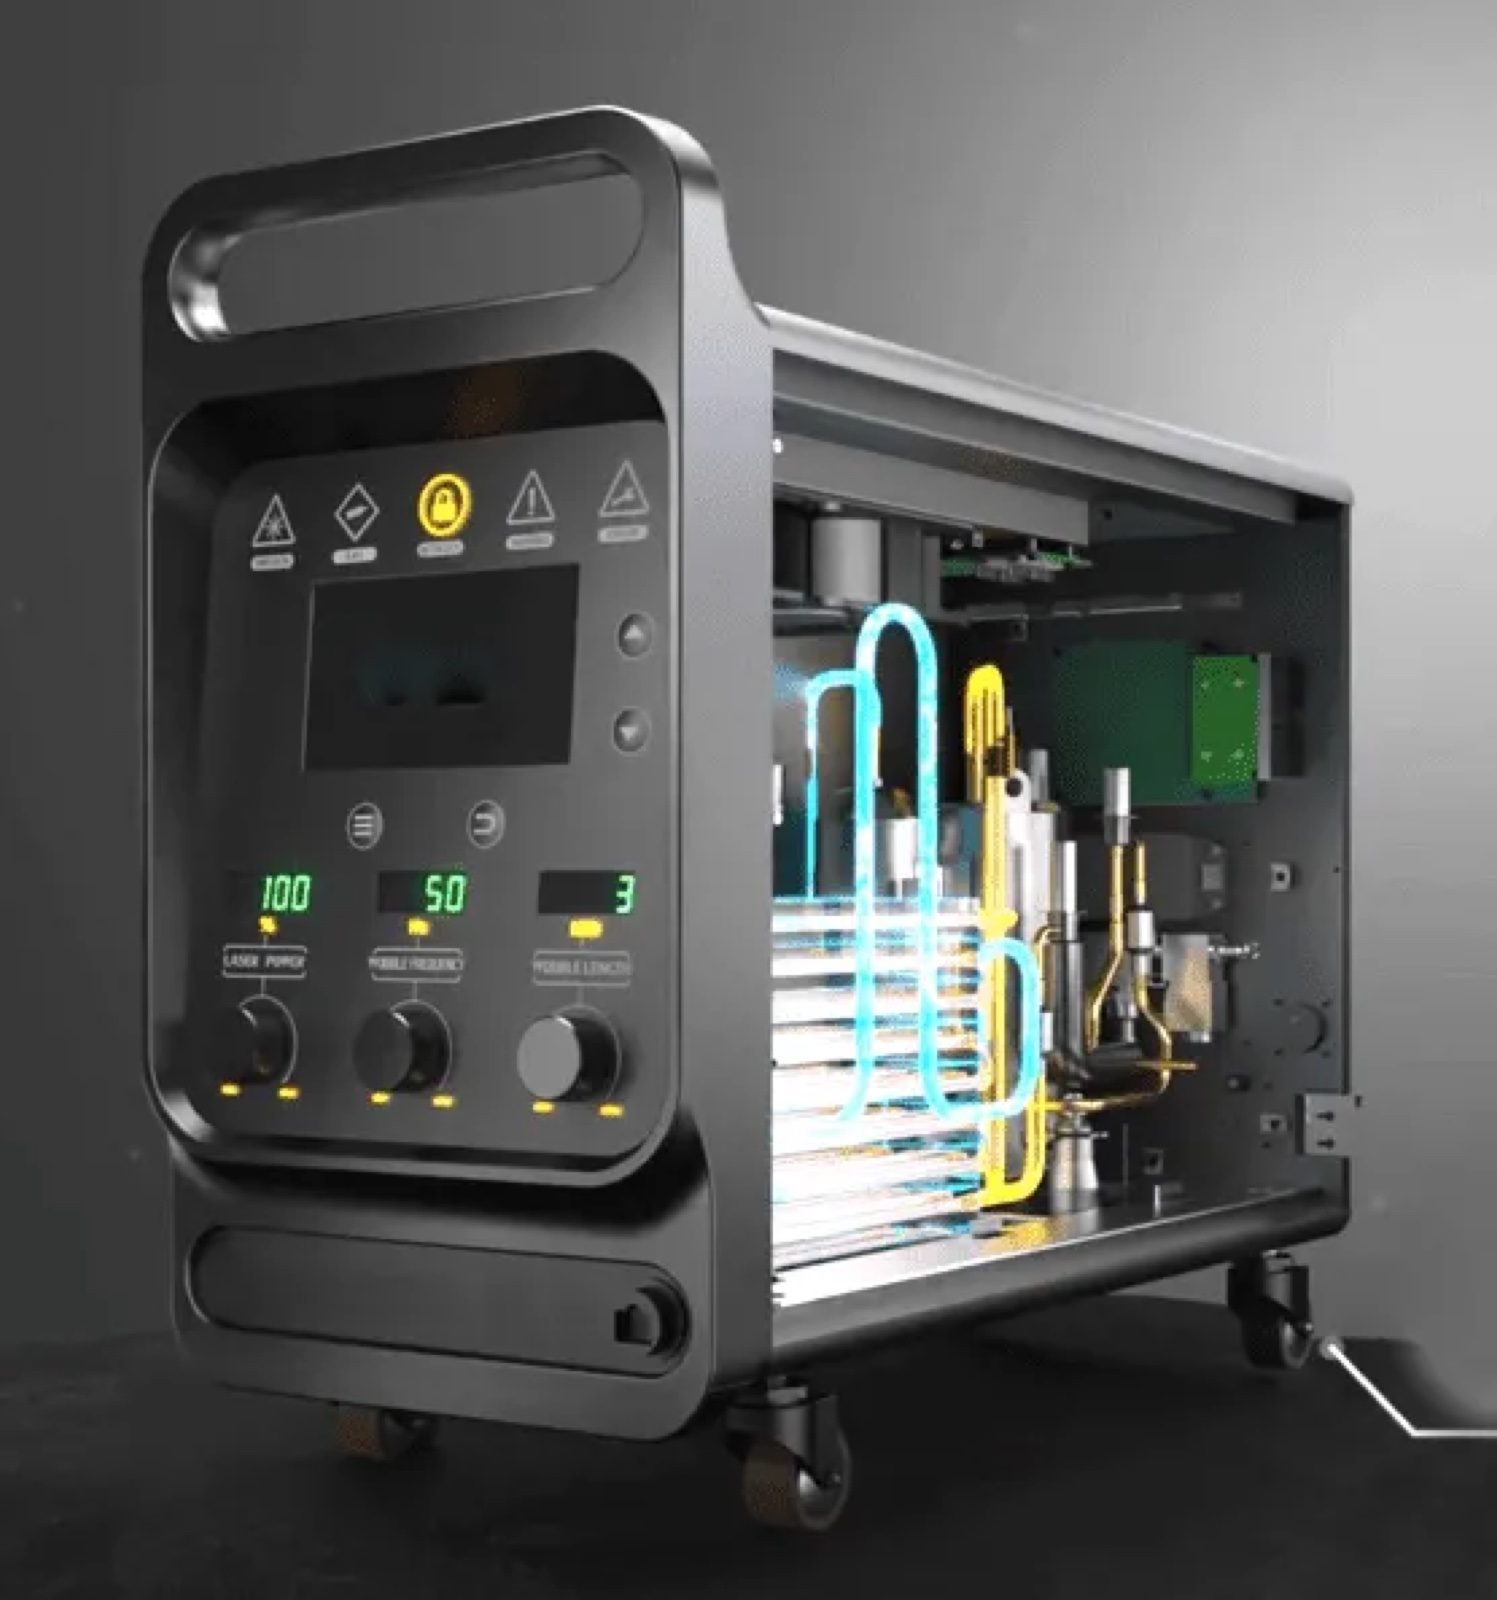
Laser power is the energy the source delivers while you weld. The manual gives its starting settings in watts. More power generally means more energy to melt the joint, but the result also depends on travel speed, focus, fit-up, the material and the wobble.
Too little power, or energy spread too thin, can leave incomplete fusion or shallow penetration. Too much heat can cause burn-through, undercut, sagging or distortion. So a 2000W welder doesn't need to run at full power for every job.
Before you turn up the power, check cleanliness, fit-up, torch aim, focus and stand-off, shielding gas and travel speed. If all of those are right, try a small power increase or a small speed reduction on a test coupon of the same material. Change one thing at a time, and stay within the approved range.
Travel speed spreads that energy along the seam
Travel speed is how fast you move the torch along the joint. The manual lists it in millimeters per second. It isn't the same as wobble frequency, which is how fast the beam swings back and forth.
At the same power, moving slower generally puts more energy into each inch of the seam, and moving faster puts in less. Too slow can overheat the joint. Too fast can leave incomplete fusion. Keep the torch moving steadily, including at corners and at the ends of the weld.
In continuous-wave welding, the nominal energy per unit length is the laser power divided by the travel speed. That helps explain heat input, but it doesn't predict penetration on its own. Beam distribution, absorption, focus and the joint all play a part.
Wobble length sets how wide the beam sweeps
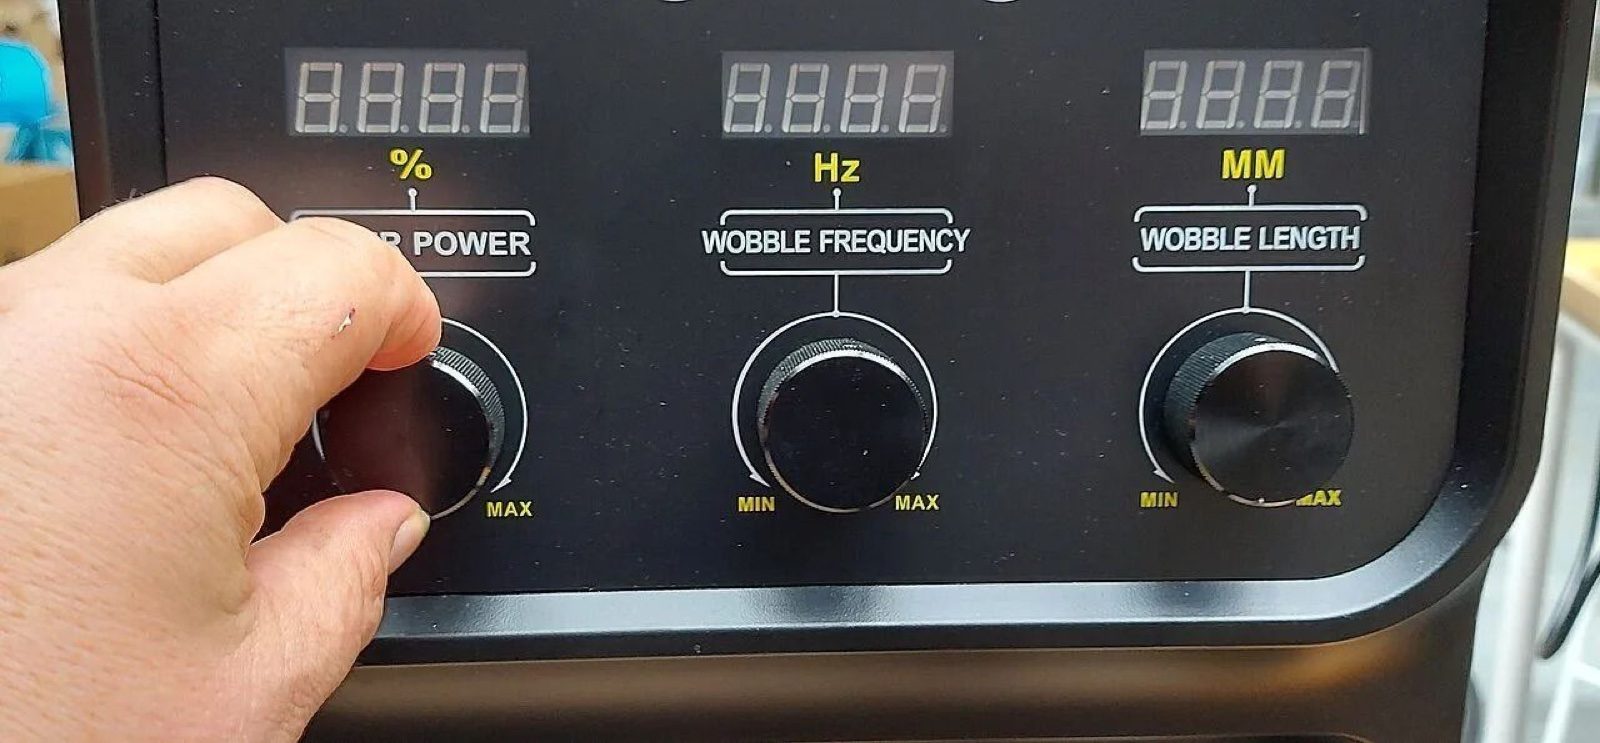
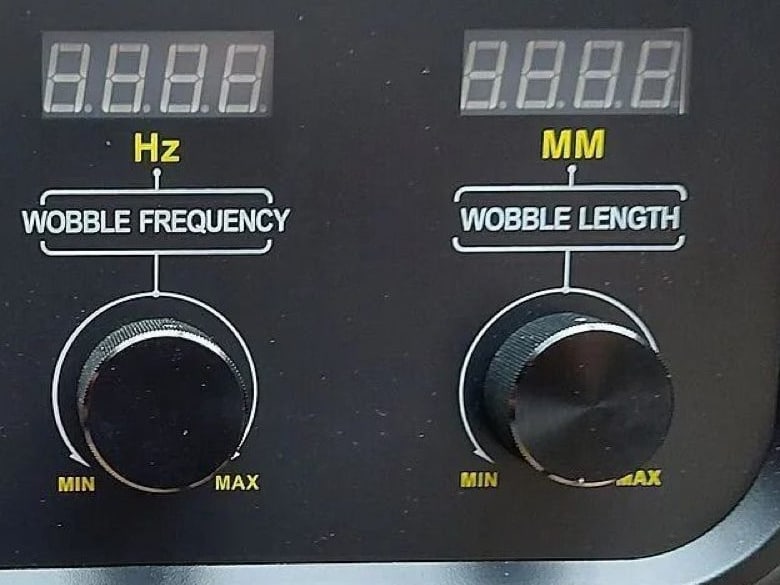
Wobble moves the beam across the joint while the torch moves forward. The manual calls the side-to-side setting "wobble length" and sets a maximum of 3.0 mm (0.12 in) for this machine. Don't borrow a wider wobble limit from another model or another manufacturer's welder.
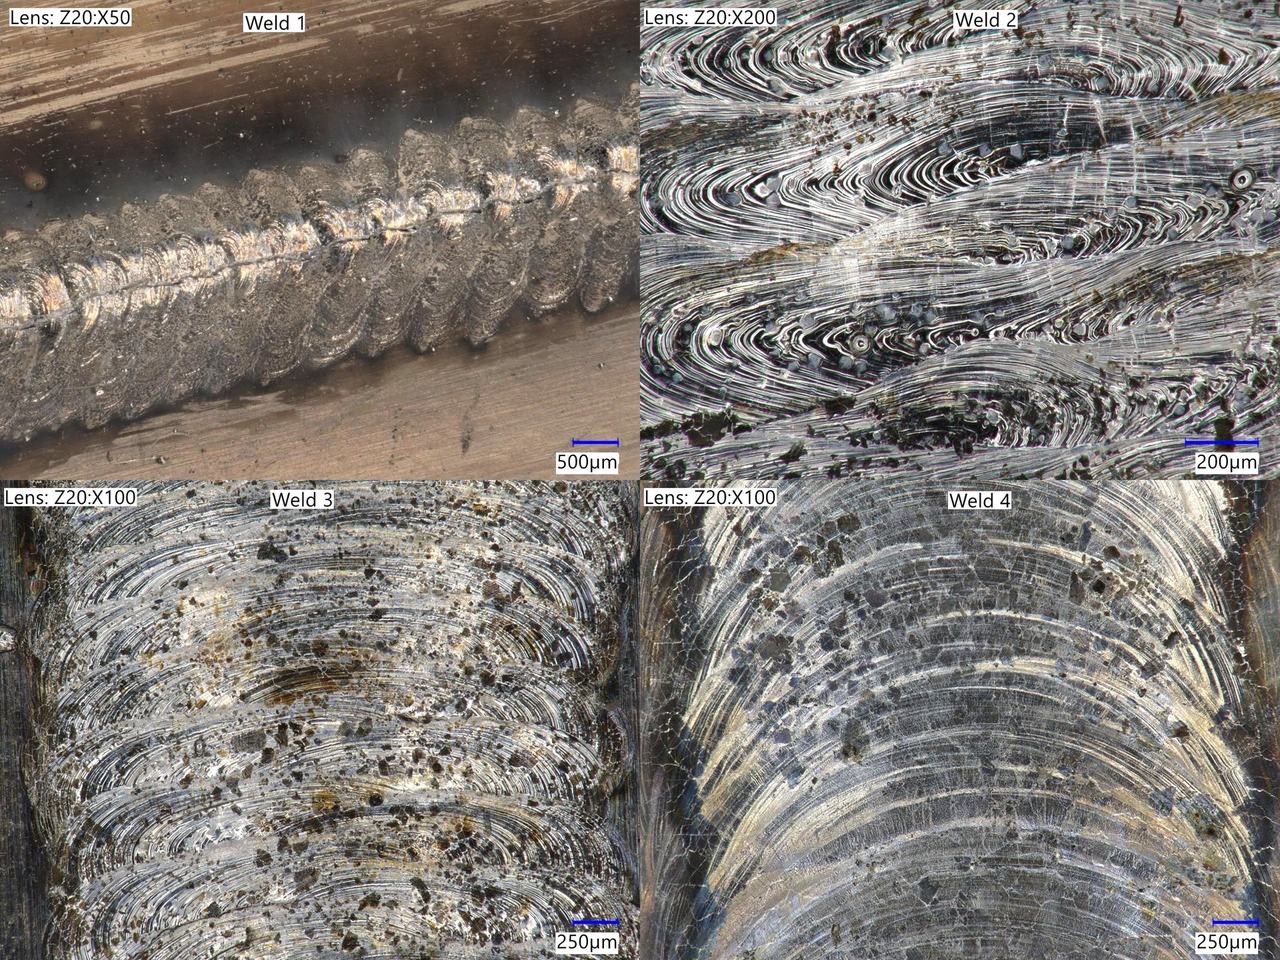
A narrow wobble puts the energy into a small area. A wider wobble spreads it across more of the joint. Too much wobble can give a wide, shallow bead, and a wider-looking bead isn't a stronger weld.
If you get a narrow, high bead with weak fusion at the sides, check torch centering and fit-up first. Then try a modest increase in wobble length, staying within the approved procedure and the 3.0 mm limit. Wobble doesn't make up for a gap that's too wide (see our post on fit-up and gap control).
Wobble frequency sets how fast the beam swings
Wobble frequency is the number of beam swings per second, measured in hertz (Hz). It affects how much the swings overlap and how the weld pool behaves as you move. A higher frequency doesn't automatically give a stronger or deeper weld.
The manual's chart uses 90 to 120 Hz for its 1 mm examples, 60 to 90 Hz for 2 mm and 35 to 60 Hz for 3 mm. Those values go with the power, wobble length, material and speed in the same rows. They aren't a rule for every alloy or joint.
For a wide, shallow bead, the manual says to check focus and try a shorter wobble length or a lower frequency. Check travel speed and torch angle as part of the same diagnosis.
Starting settings from the Ascent manual
These values are the starting chart from Chapter 12A of the manual. Use them only after authorized training, with an approved setup and test coupons of the real material. Confirm the alloy, joint design, filler, shielding gas, nozzle and stand-off before you pick a row.
| Material | Thickness | Power | Wobble frequency | Wobble length | Travel speed |
|---|---|---|---|---|---|
| Carbon steel | 1.0 mm (0.04 in) | 800–1,000 W | 90–120 Hz | 1.0–1.5 mm (0.04–0.06 in) | 6–10 mm/s (14–24 in/min) |
| Carbon steel | 2.0 mm (0.08 in) | 1,100–1,400 W | 60–90 Hz | 1.5–2.0 mm (0.06–0.08 in) | 4–7 mm/s (9–17 in/min) |
| Carbon steel | 3.0 mm (0.12 in) | 1,500–1,800 W | 35–60 Hz | 2.0–3.0 mm (0.08–0.12 in) | 3–5 mm/s (7–12 in/min) |
| Stainless steel | 1.0 mm (0.04 in) | 700–900 W | 90–120 Hz | 1.0–1.5 mm (0.04–0.06 in) | 6–10 mm/s (14–24 in/min) |
| Stainless steel | 2.0 mm (0.08 in) | 1,000–1,300 W | 60–90 Hz | 1.5–2.0 mm (0.06–0.08 in) | 4–7 mm/s (9–17 in/min) |
| Stainless steel | 3.0 mm (0.12 in) | 1,300–1,600 W | 35–60 Hz | 2.0–3.0 mm (0.08–0.12 in) | 3–5 mm/s (7–12 in/min) |
| Aluminum alloy | 1.0 mm (0.04 in) | 1,000–1,300 W | 90–120 Hz | 1.0–1.5 mm (0.04–0.06 in) | 8–12 mm/s (19–28 in/min) |
| Aluminum alloy | 2.0 mm (0.08 in) | 1,300–1,700 W | 60–90 Hz | 1.5–2.0 mm (0.06–0.08 in) | 5–8 mm/s (12–19 in/min) |
| Aluminum alloy | 3.0 mm (0.12 in) | 1,700–2,000 W | 35–60 Hz | 2.0–3.0 mm (0.08–0.12 in) | 4–6 mm/s (9–14 in/min) |
Inch figures are rounded conversions of the manual's metric values.
Carbon steel. At 1 mm, the chart calls for a square butt joint with tight fit-up. At 2 mm, use a tack sequence to control distortion. At 3 mm, qualify a beveled joint or a backing arrangement when you need full penetration.
Stainless steel. Use dedicated preparation tools, control heat tint and check the shielding coverage. Whether you bevel depends on the approved joint design and the penetration you need.
Aluminum. Remove the oxide right before welding, keep the fit-up tight and the shielding steady, and use a qualified schedule for the specific alloy. For 3 mm, the chart says to start near the low end only after coupon testing, with a bevel or backing if the qualified procedure calls for it.
Don't stretch these 1 to 3 mm examples to thinner sheet, other thicknesses, dissimilar metals or other joints without developing and validating the process. They also don't carry over directly to Ascent QCW welders, which have extra pulse controls.
Prepare the joint before you change the settings
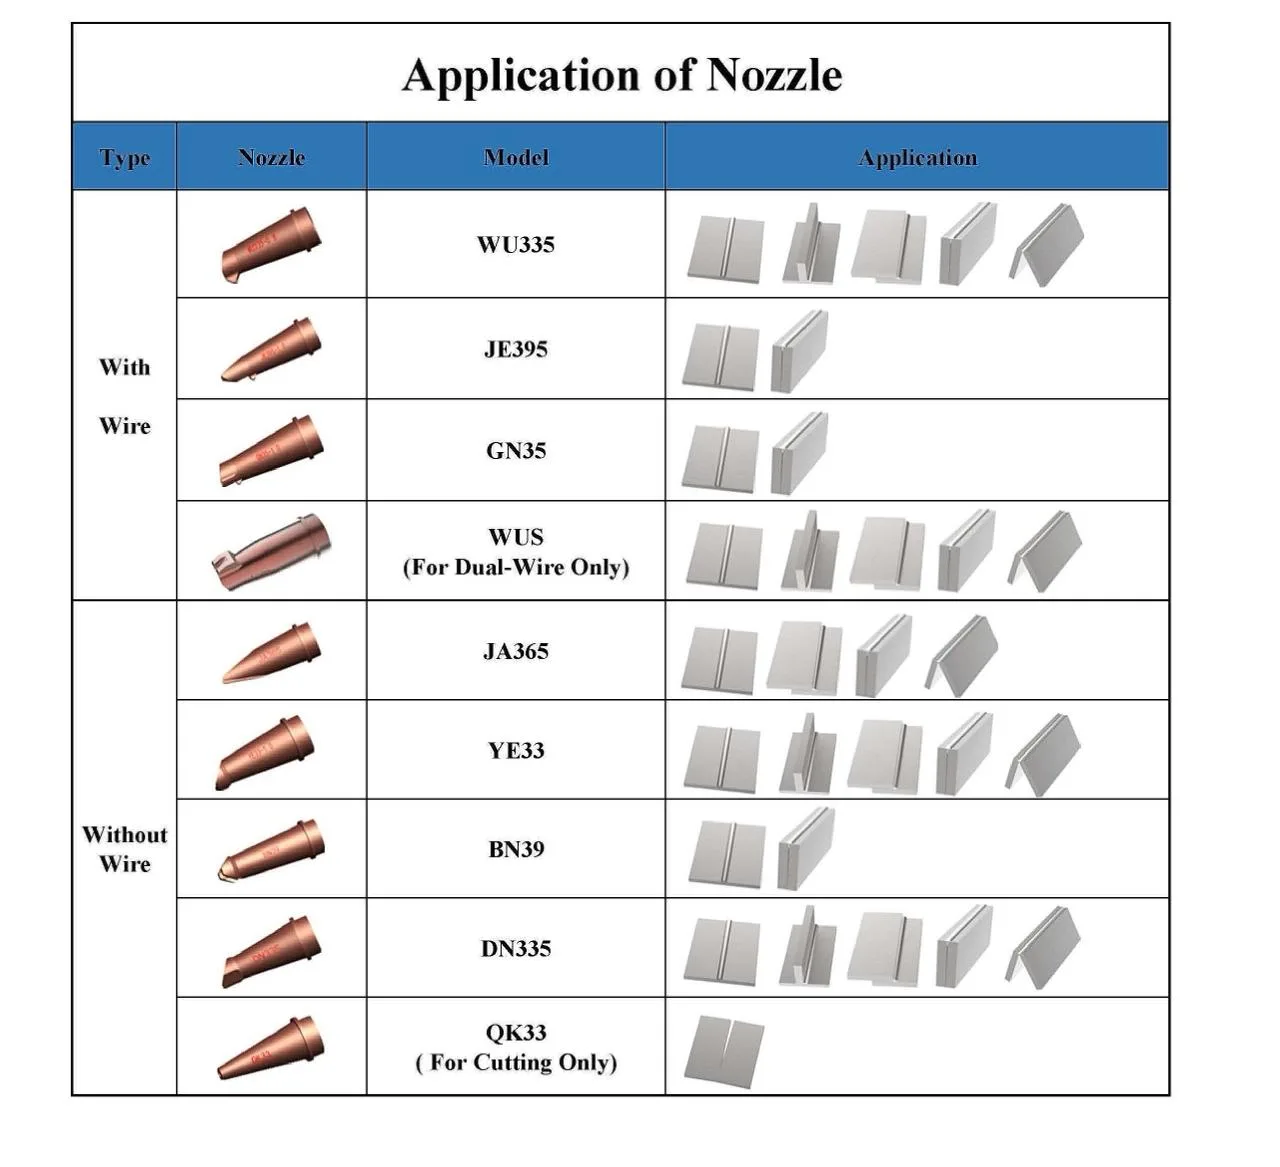
The manual requires you to identify the material and remove contamination before you weld. Clean at least 25 mm (1 in) on each side of the planned seam, or the distance the job procedure calls for. Remove burrs and cutting dross, use an approved residue-free cleaner, and let all the solvent evaporate.
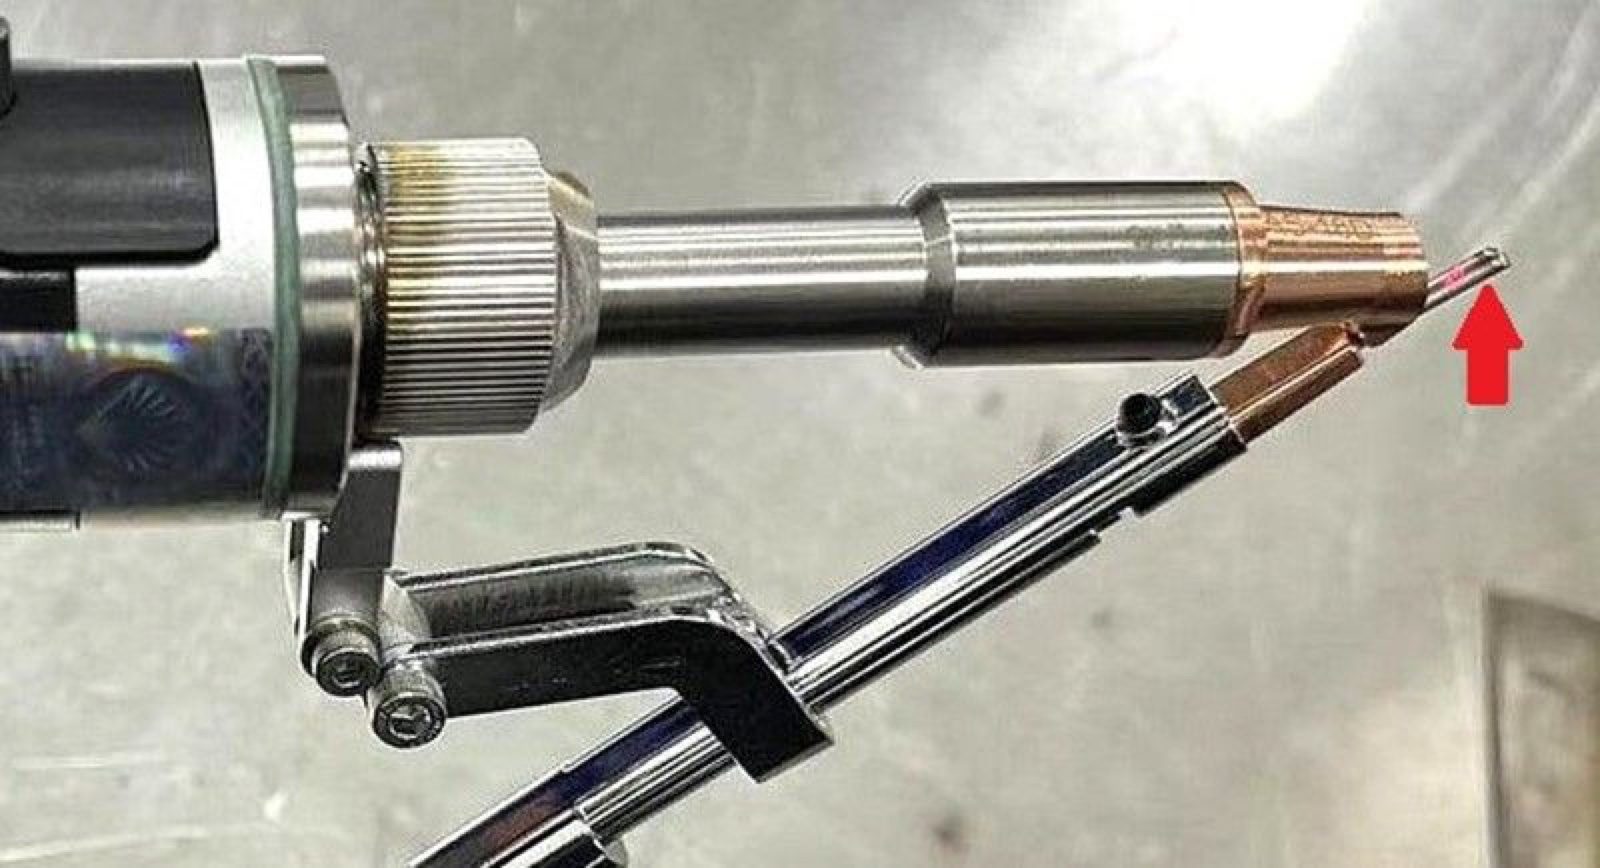
For aluminum, remove the oxide right before welding with tools used only on aluminum, and follow the approved degreasing method. Keep the stock and the filler wire clean and dry. For stainless steel, use brushes, abrasives, clamps and work surfaces kept only for stainless, so carbon steel doesn't contaminate it.
Align and clamp the parts securely, hold the approved gap and follow the required tack sequence. If the joint has no gap limit yet, develop and qualify one instead of trying to bridge the gap with extra wobble.
Troubleshooting the weld
| What you see | Check first, then test |
|---|---|
| Lack of fusion | Check fit-up, cleanliness, focus, torch aim and speed. Then test slightly slower travel or slightly higher power within the approved range. |
| Burn-through or sagging | Check the thickness, gaps and clamping. Then test faster travel or lower power. Any change to wobble or backing needs a new coupon test. |
| Wide, shallow bead | Check focus and wobble. Then test a shorter wobble length or a lower frequency within the approved range. |
| Narrow bead with poor fusion at the sides | Improve centering and fit-up first, then test a modest wobble increase within the 3.0 mm maximum. |
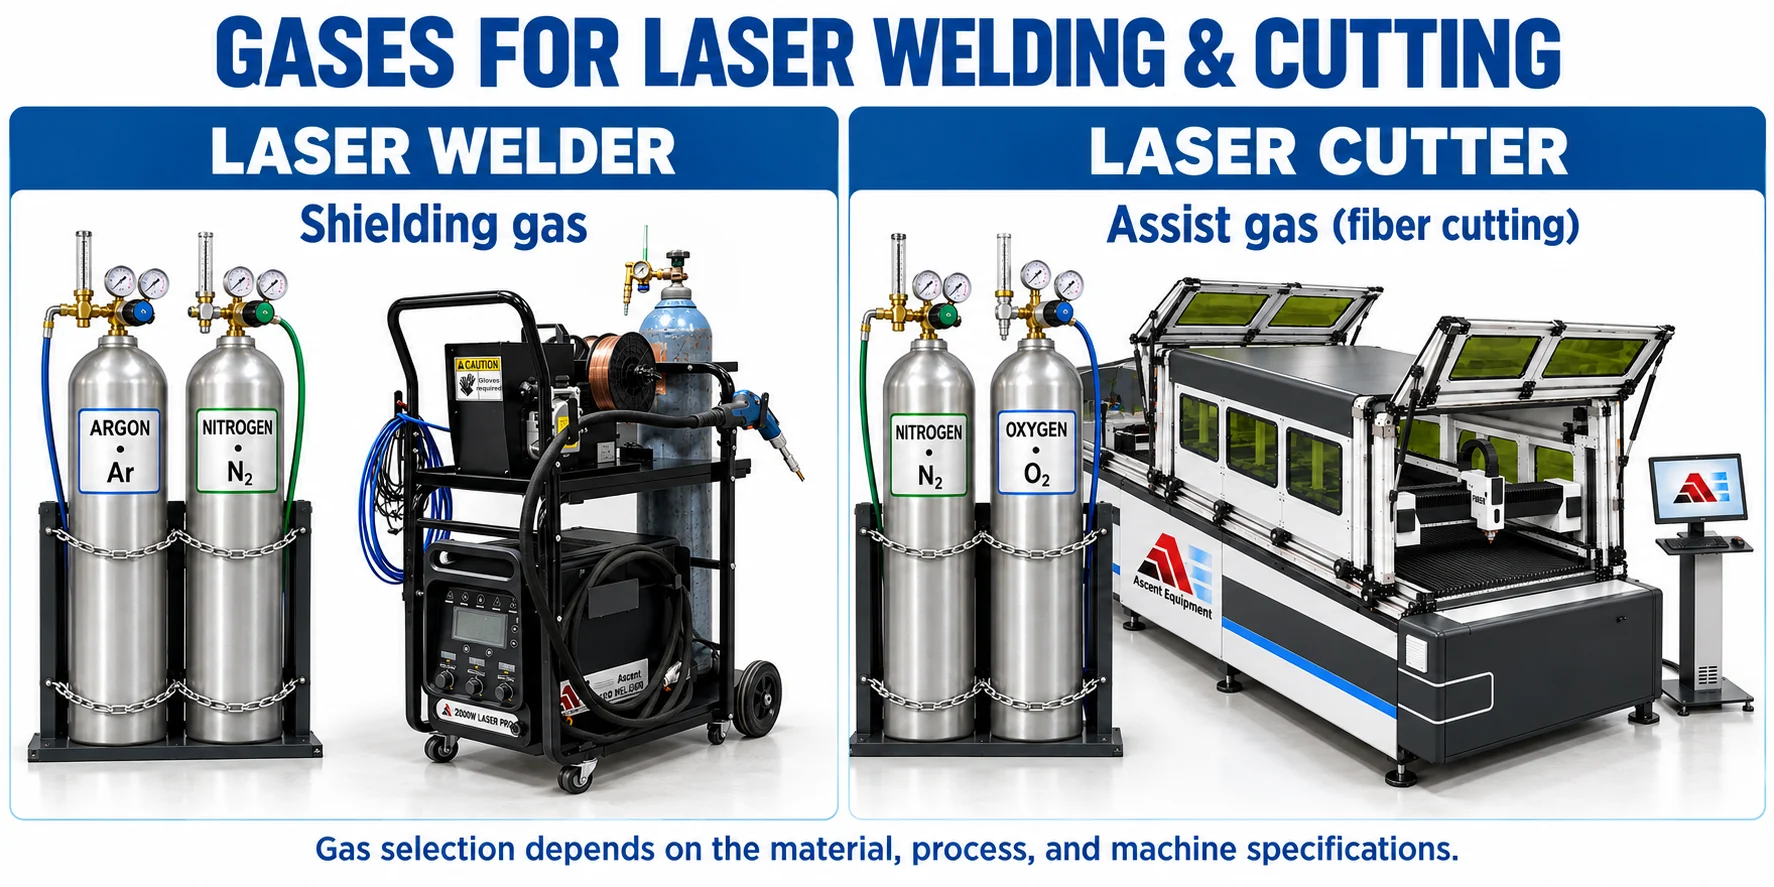
| Porosity or haze | Fix cleaning, moisture, gas purity and coverage, nozzle condition and drafts before you change the power. Don't just turn up the gas flow. |
| Cracking | Stop production. Review the alloy, filler, restraint, joint design and crater control with the qualified process owner, and requalify before you restart. |
Porosity and haze usually point to the gas or the prep, not the power. Our post on shielding gas covers what to check.
Test the settings and write them down
The manual's coupon test is straightforward:
- Use the same material, thickness, joint preparation, fit-up, position, gas and nozzle you'll use in production.
- Start in the lower middle of the parameter range for that row, following the material notes and your approved procedure.
- Make a short test weld and inspect it for continuity, bead uniformity, undercut, overlap, spatter, porosity, cracking and discoloration.
- Where required, check fusion and penetration by sectioning and etching a sample, or with another approved inspection method. Appearance alone doesn't prove the joint is strong.
- Change one variable by a small, recorded amount, weld another coupon, and keep or undo the change based on the result.
- Release the job for production only after it passes the drawing, the qualified welding procedure specification, the customer specification and your site's quality procedure.
Record the material grade and thickness, joint prep and gap, gas and nozzle, stand-off, power, travel speed, wobble frequency and length, filler details and inspection results. A saved recipe only helps when those conditions stay the same.
A safe setup comes first
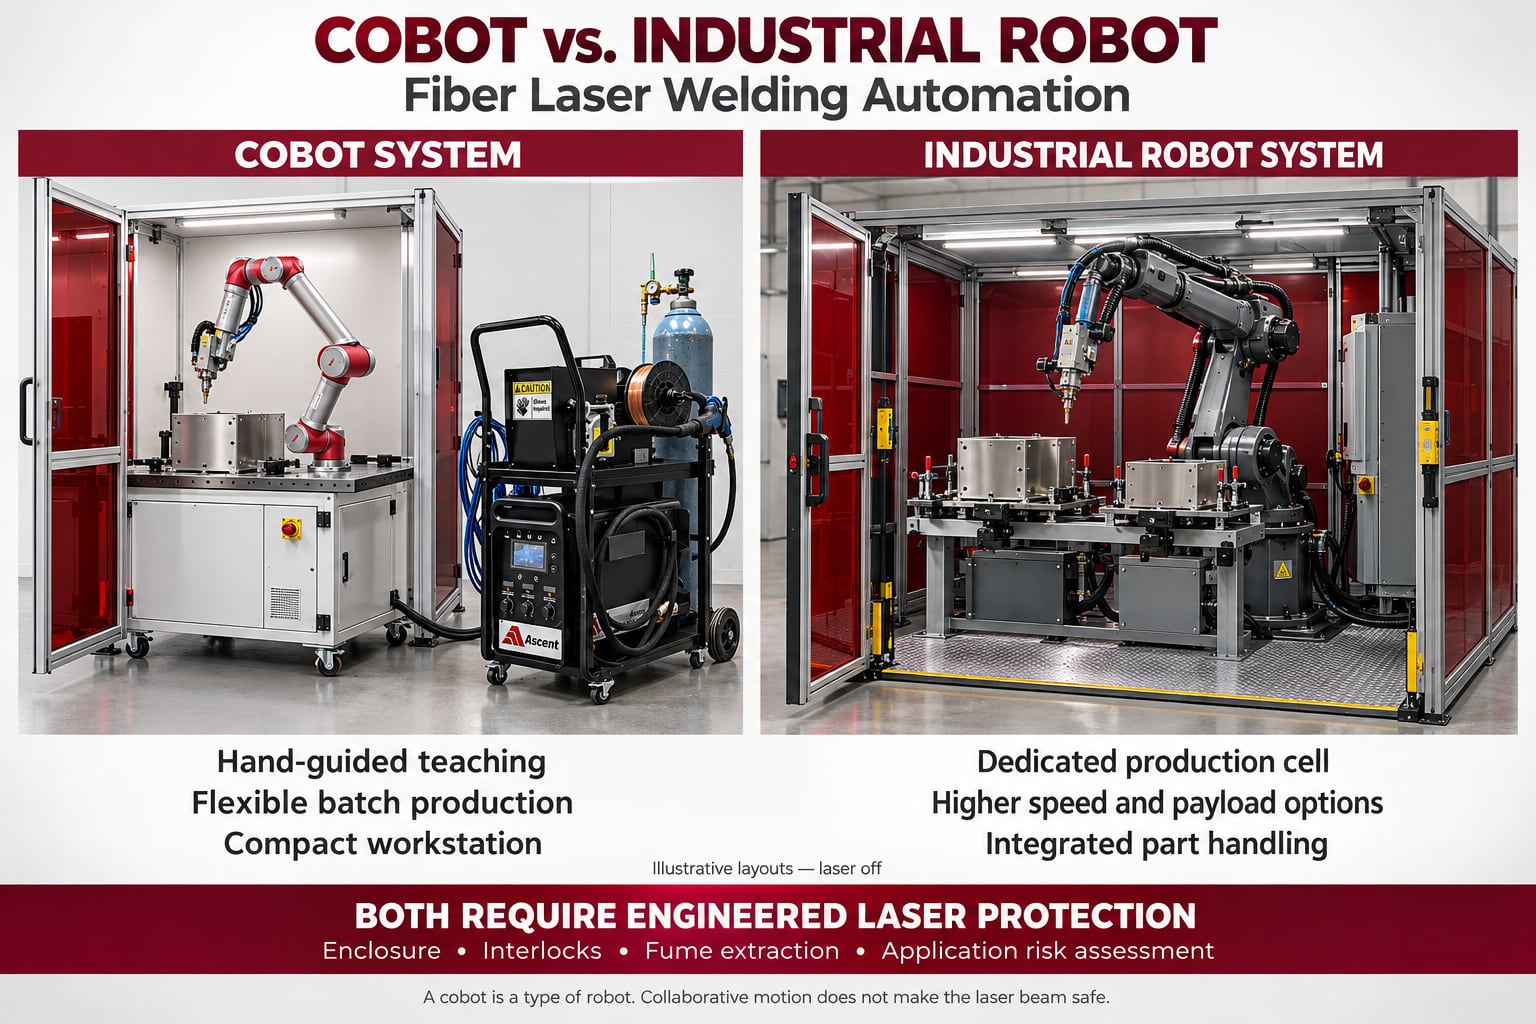
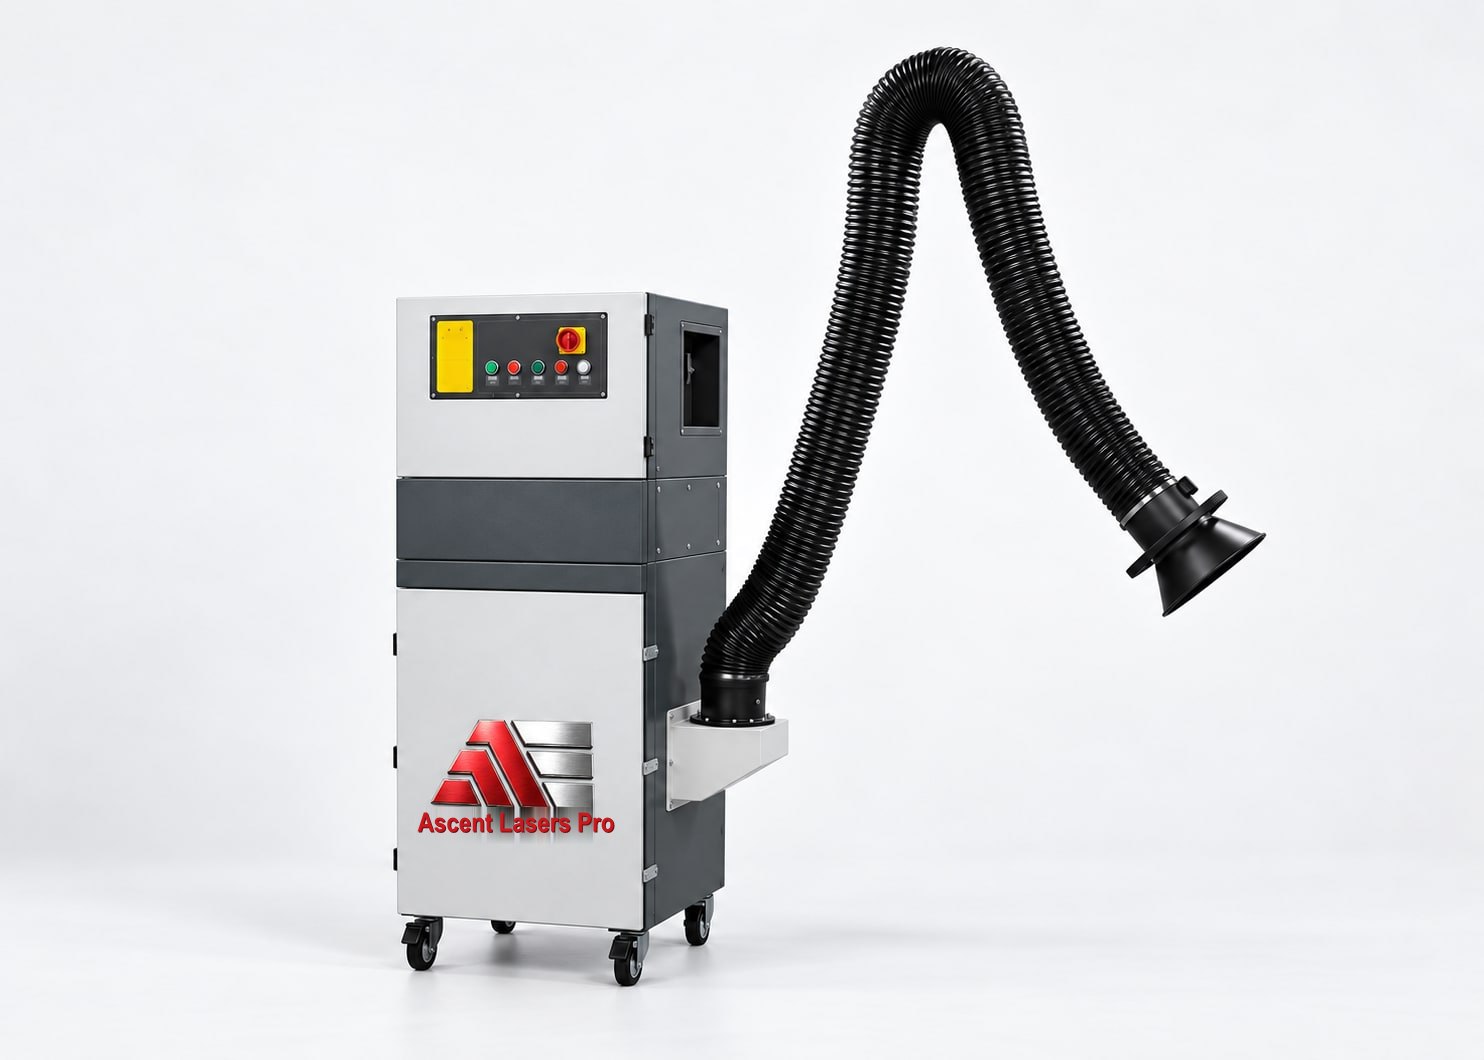
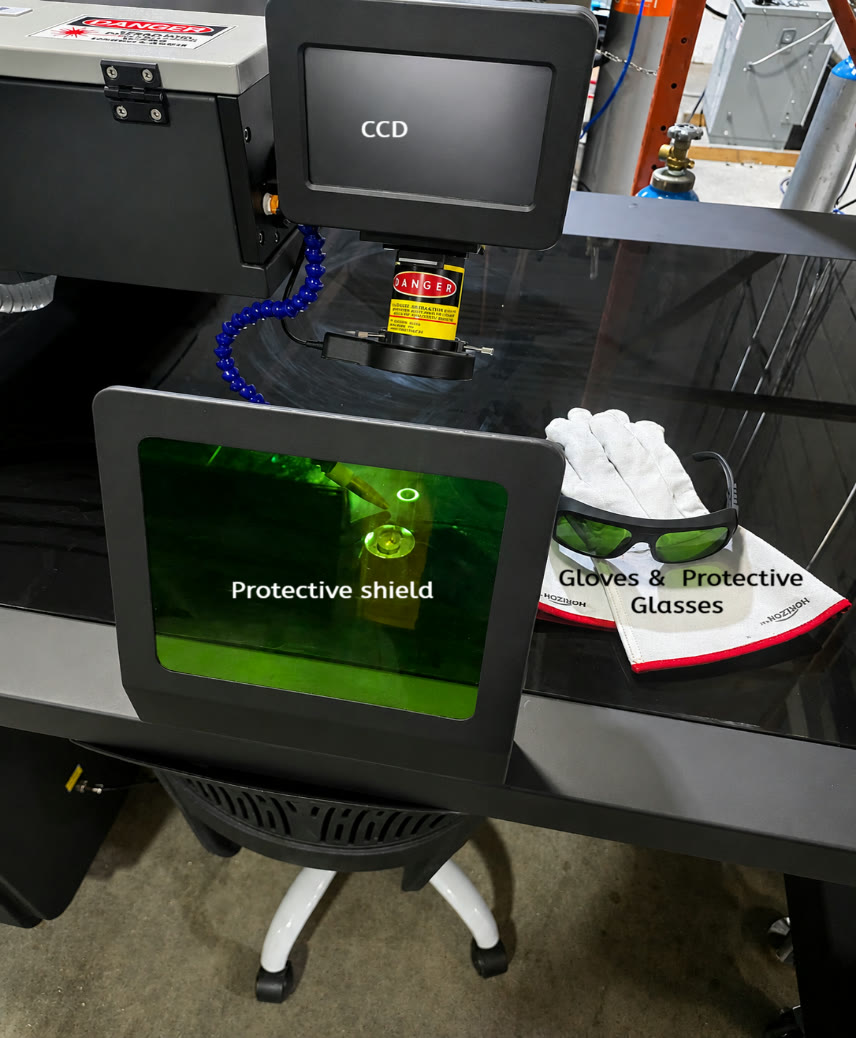
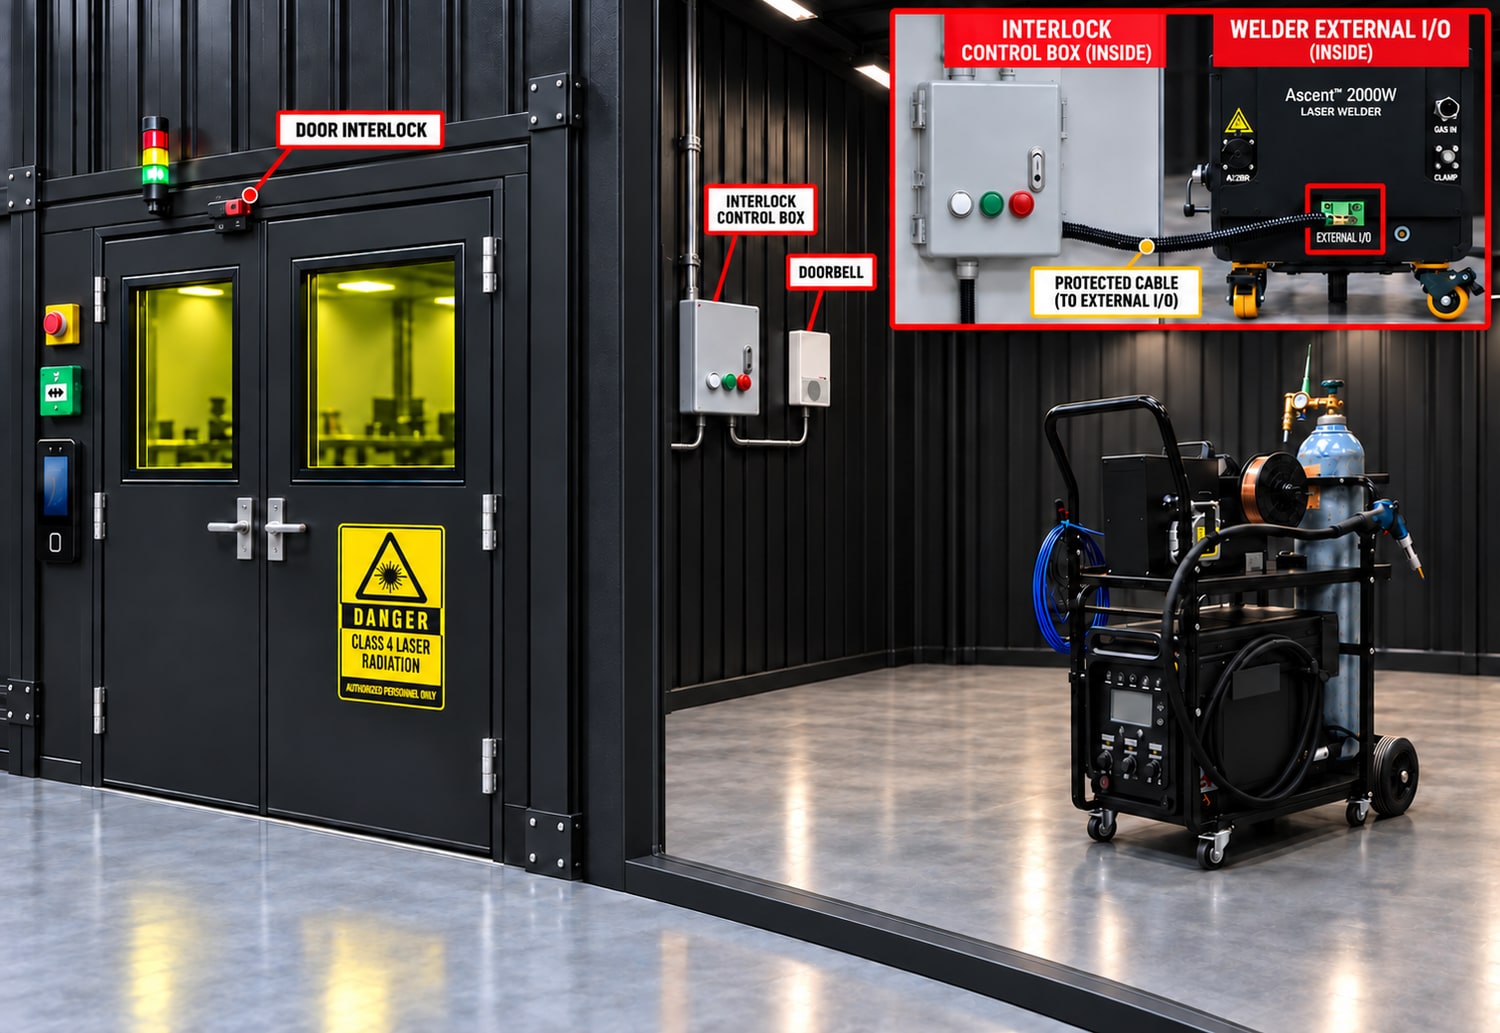
The manual requires training and authorization from an Ascent-qualified technician before anyone runs the welder. Weld in a laser-controlled area approved by your Laser Safety Officer (LSO), with suitable beam containment, access control, local exhaust ventilation, working interlocks, and laser eyewear chosen for the wavelength through your hazard assessment. Minimum OD 5; prefer OD 7 or 8. A helmet or face shield doesn't replace laser eyewear unless it's expressly certified and approved for that job. Our laser safety page has more.
Stop if a safety system is damaged, the beam behaves abnormally, gas leaks, the cooling faults, someone may have been exposed, or weld defects keep coming back. Lower power and a wider wobble don't make exposed Class 4 laser radiation safe.
Good control gives repeatable welds
Develop power, travel speed, wobble length and wobble frequency together, around a clean, well-fitted joint. The Ascent manual gives you a starting point, and coupon testing tells you which settings work for the actual job.
For help with an application, send Ascent the machine model, the alloy and thickness, the joint details, your current settings, and photos or test results. You can see the welder on our Ascent refrigeration laser welders page, or contact us.
Email info@ascentlaserspro.com or call 1-800-927-5107 ext. 1008.
Source
Ascent Equipment Laser Welder 2000W User Manual, REV-2-2026: Chapters 12A to 12D (starting settings, preparation, coupon testing and the weld record), aluminum troubleshooting Chapters 1 to 5, and safety Chapters 1 to 7.