
Think of every gap in a laser-welded joint as a hole in a wall: whatever stands on the other side is in the line of fire. The beam doesn't stop where the metal does. It crosses the gap, weaker but still hazardous, and travels on until something intercepts it, which could be the operator's hand, a bystander, or a shiny surface sitting at the wrong angle. Injuries from that kind of exposure are serious.
So fit-up in laser welding is as much about safety as about quality, and the two can't be pulled apart. The same gap that ruins a weld is the one that lets the beam escape.
What the beam does at a gap
At its focal point, a 1070nm fiber laser packs several million watts into every square centimeter. On metal, the surface takes up that energy, melts and fuses the joint, so the energy is consumed. Over a gap, nothing takes it up. The beam passes through, fans out beyond the focus and carries on.
Ten millimeters past the opening it has widened, yet it still holds the source's entire 1000W or 2000W, now spread over a larger area, which is well beyond what skin and eyes can tolerate. At fifty millimeters it is more diffuse but still hazardous. At ordinary working distances, such as the distance to a hand steadying the far side of a part, there's easily enough energy to cause serious injury instantly.
Nor does the opening need to be wide. On thin aluminum, a 0.5mm gap is enough to let the beam through.
Fit-up tolerances
Laser welding is far less tolerant than MIG or TIG. The working rule is to keep the gap between zero and 10% of the material thickness. For 0.063" (1.6mm) aluminum, that caps the gap at 0.006" (0.16mm), effectively metal touching metal. For 0.125" (3.2mm) stock, the cap is 0.012" (0.3mm). Meeting numbers like these takes deliberate joint preparation.
Filler wire lets a MIG welder span gaps of 1 to 3mm, and TIG welders work the rod to span them. A laser without filler can't span anything; its beam goes through instead. That's a property of the process, and no amount of practice changes it.
How joint geometry changes the risk
Butt joints are the least forgiving. Two flat edges must meet along their whole length, so both need to be straight and burr-free, and any bow, twist or ragged cut opens a gap somewhere. On a butt joint the beam's exit route runs directly through the gap and out toward whatever lies behind the part.
Lap joints are friendlier. The top sheet overlaps the bottom one, and the weld penetrates the lower piece's top surface at the overlap line. A gap between the sheets weakens the weld, but the lower sheet still intercepts part of the beam's route, which is why lap joints are inherently safer than butt joints.
T-joints and corner joints have an upright piece that blocks much of the exit route. Sensitivity to gaps is moderate: a gap reduces penetration and fusion, but the geometry limits how far a beam that gets through can travel before it reaches material.
Inside corners, such as a side wall meeting a back panel, put the panel right in the beam's path, so the toe of the weld is where a gap matters most. Press the side wall hard against the panel before welding.
Getting good fit-up
- Deburr every cut edge. A laser-cut or sheared edge carries a slight burr on its exit side, and the burr props the parts apart. Ten seconds per edge with a file or deburring tool eliminates the most frequent cause of gaps on thin aluminum.
- Flatten stock before cutting. Aluminum fed from a coil remembers its curl, and a curved piece won't lie flat against a straight one. Straighten or flatten it before cutting parts for butt joints.
- Clamp first, every time. Hand pressure isn't a clamp. One hand runs the welding head, and the other can't hold even pressure along the entire joint, so as welding advances the grip ahead of the torch eases and the parts creep apart.
- Tack before you run the seam. Tacks every 25 to 50mm freeze the joint geometry, so the parts can't open up ahead of the torch.
- Inspect before welding. Hold the assembled joint against a light. Any light showing through means the fit isn't acceptable and needs fixing before a weld is attempted.
Fixturing: take your hands out of the line of fire
People who come from MIG and TIG tend to steady small parts by hand. With a laser that does double damage. A hand ends up in the path the beam would take through the joint, and the grip varies along the seam, letting gaps open and close as you weld. Replace the hand with a mechanical holder:
- Magnetic clamps for steel and stainless. A row of small magnets along the seam holds butt joints and T-joints with even force, and can be set and moved quickly.
- Toggle clamps for any material, with repeatable force. They're slower to set than magnets but the better pick for production runs of a single part.
- Vises and angle plates for small parts. A bench or machinist's vise holds the part rigidly, and an angle plate sets T-joints and corners at exactly 90°.
- Purpose-built jigs for repeat work. Two fences at the right spacing, with clamps or magnets, cut setup to seconds on parts made in quantity, and the jig pays for itself during the first run.
- Spring clamps and locking pliers when nothing else will hold the part. At the least, grip with pliers rather than fingers, with your hands beside the joint and never behind it.
The backing bar earns its place twice
A copper bar placed behind the joint solves two separate problems.
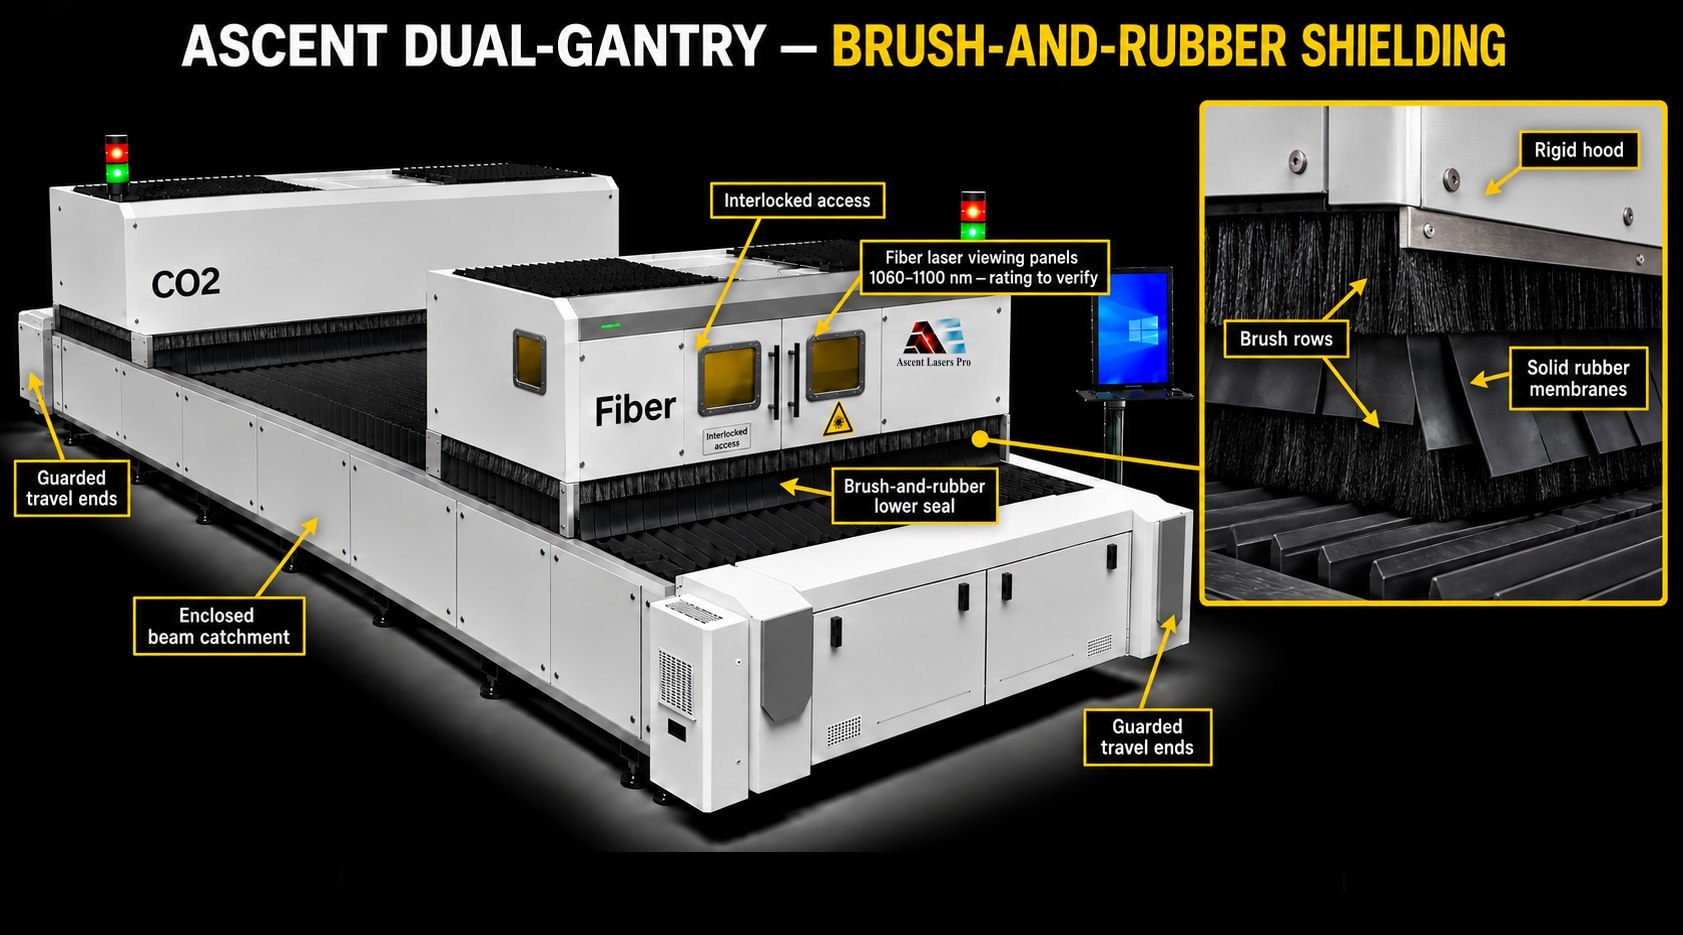
Safety. Copper reflects most 1070nm energy instead of absorbing it, so a beam that comes through a gap hits the bar instead of traveling straight on through the workpiece. Remember that a reflection is still hazardous, which is why the work area has to be enclosed and everyone inside it needs laser eyewear. Even where fit-up is perfect, the bar adds a layer of backup.
Quality. The copper acts as a heat sink behind the joint. On thin aluminum it prevents burn-through on the reverse side and leaves a cleaner root. And because copper doesn't fuse to aluminum, you can set it in place, weld, and lift it away without sticking.
For production work, make it routine to clamp a copper bar behind every joint, not an optional precaution.
If a gap can't be eliminated
Warped stock, complex geometry or parts that shifted in handling sometimes leave an unavoidable small gap. Work through these options in this order:
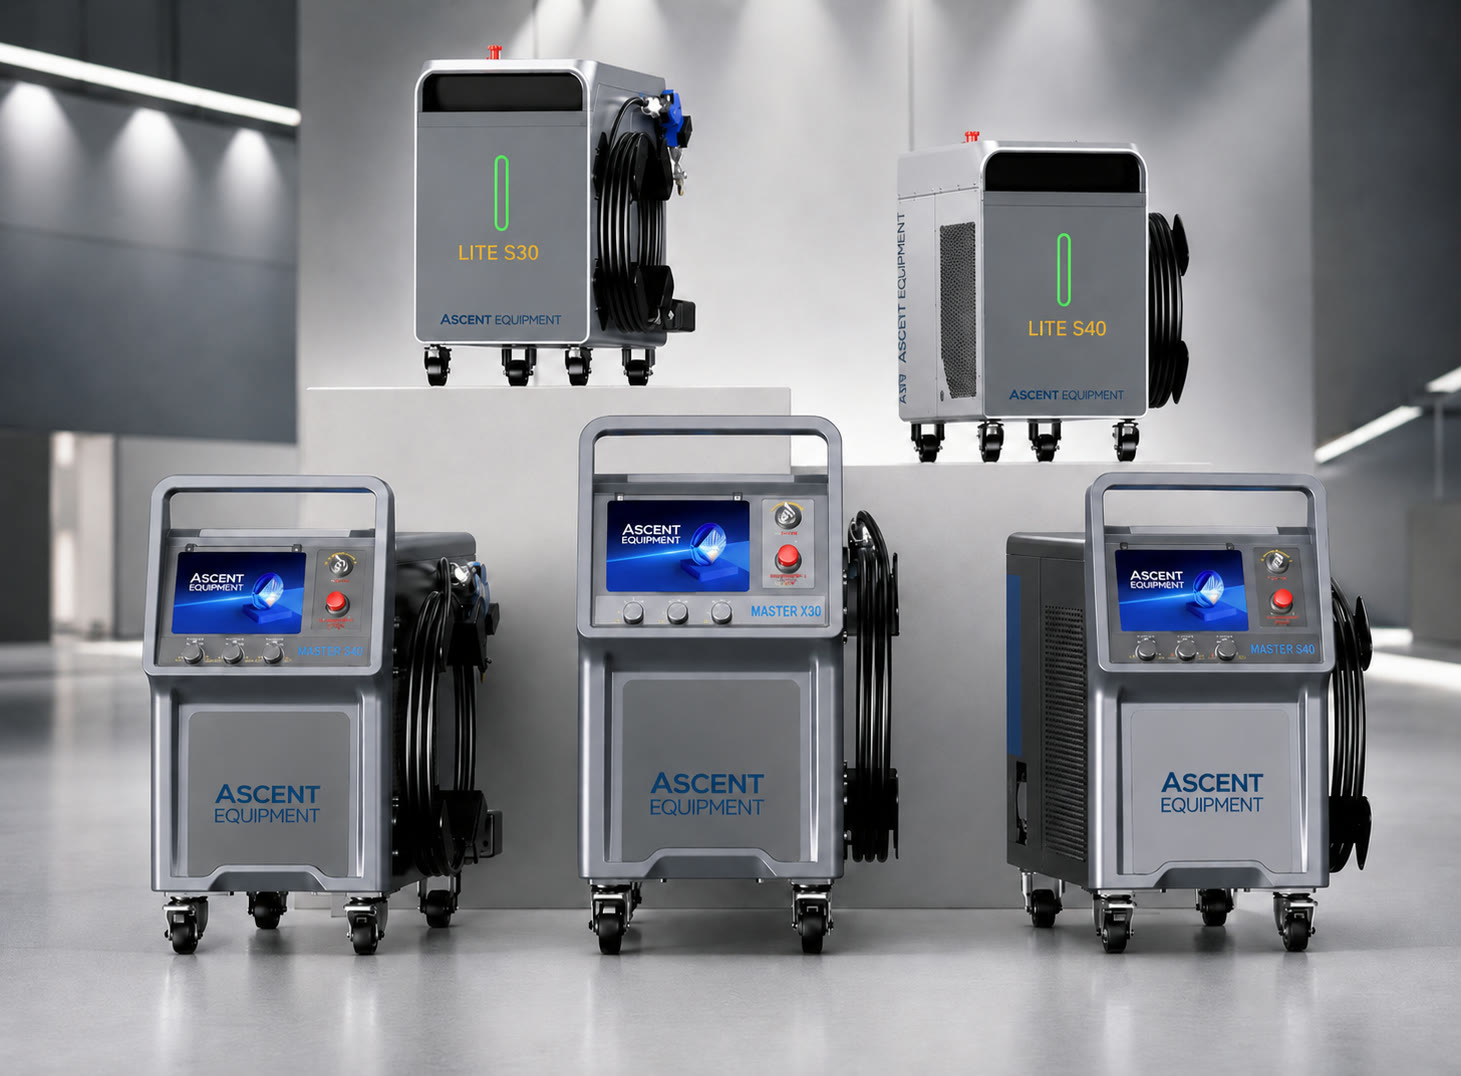
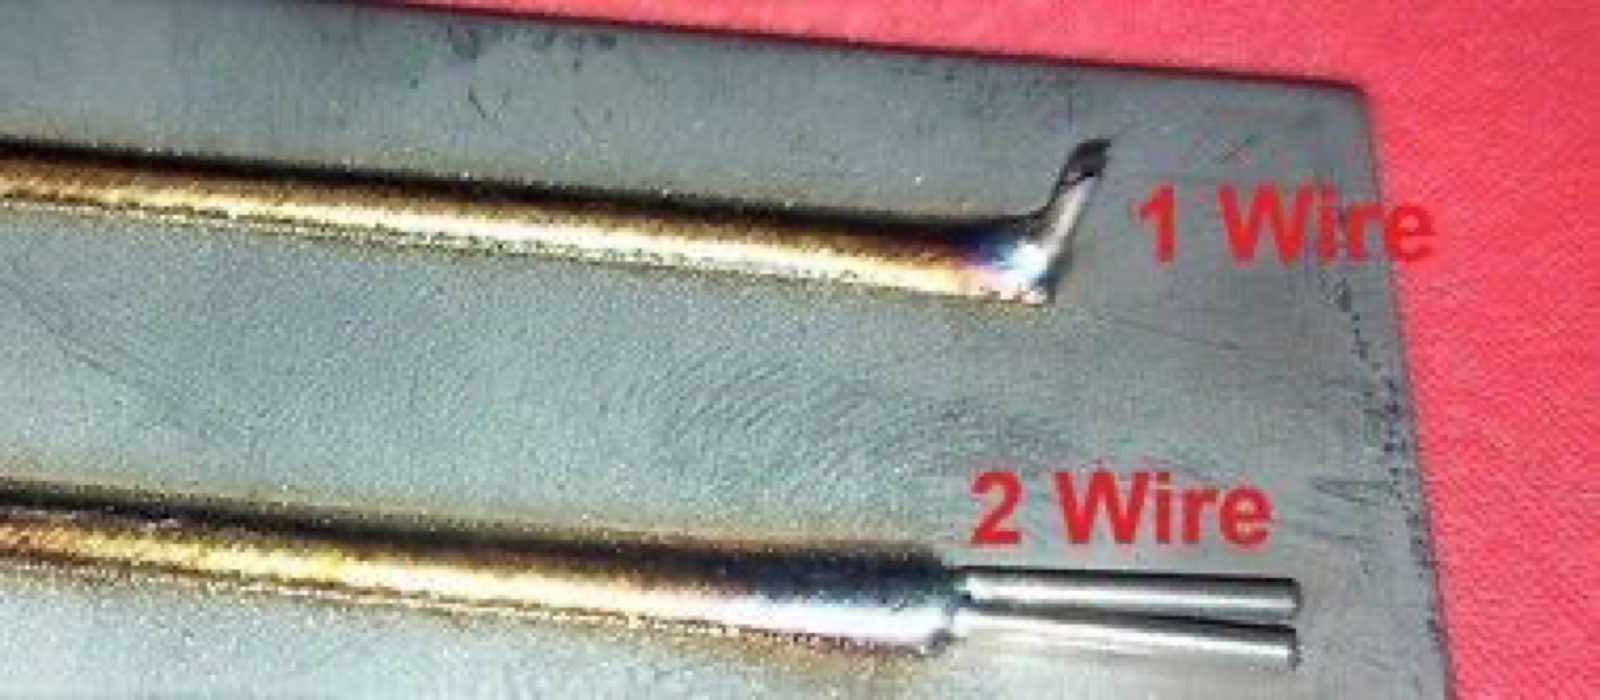
- Use filler wire. The Ascent handheld laser welders feed wire automatically, and the refrigeration welder's dual wire feeder can fill wider gaps: two 1.6 mm wires fill a gap of 2.5 to 3.0 mm. The beam can still escape through a gap, so keep the safety precautions in place.
- Clamp closer. A clamp right beside the gap pulls the parts together better than one placed farther away.
- Tack and force. Tack one side of the gap, then close it by force before tacking the other side. The first tack holds the geometry while you draw the second side in.
- Otherwise, don't weld it. Remove the part, fix the fit-up and begin again. A gap you can't close will let the beam through, and no benefit to quality or output is worth that.
Positioning yourself
A gap can open unexpectedly mid-weld, as clamping relaxes or heat distorts the material. Operators should therefore make it a rule never to put any body part in the beam's axis of transmission, the imaginary line the beam would follow if it came through the joint.
On a butt joint welded flat, that line points straight down through the table, so keep your hands to the side. On a vertical joint (two pieces standing on edge with the seam between them), it runs horizontally, perpendicular to the direction of the weld, so keep hands and body out of that plane.
Before each weld, ask: if this beam goes straight through, where does it end up? Position yourself with the answer in mind.
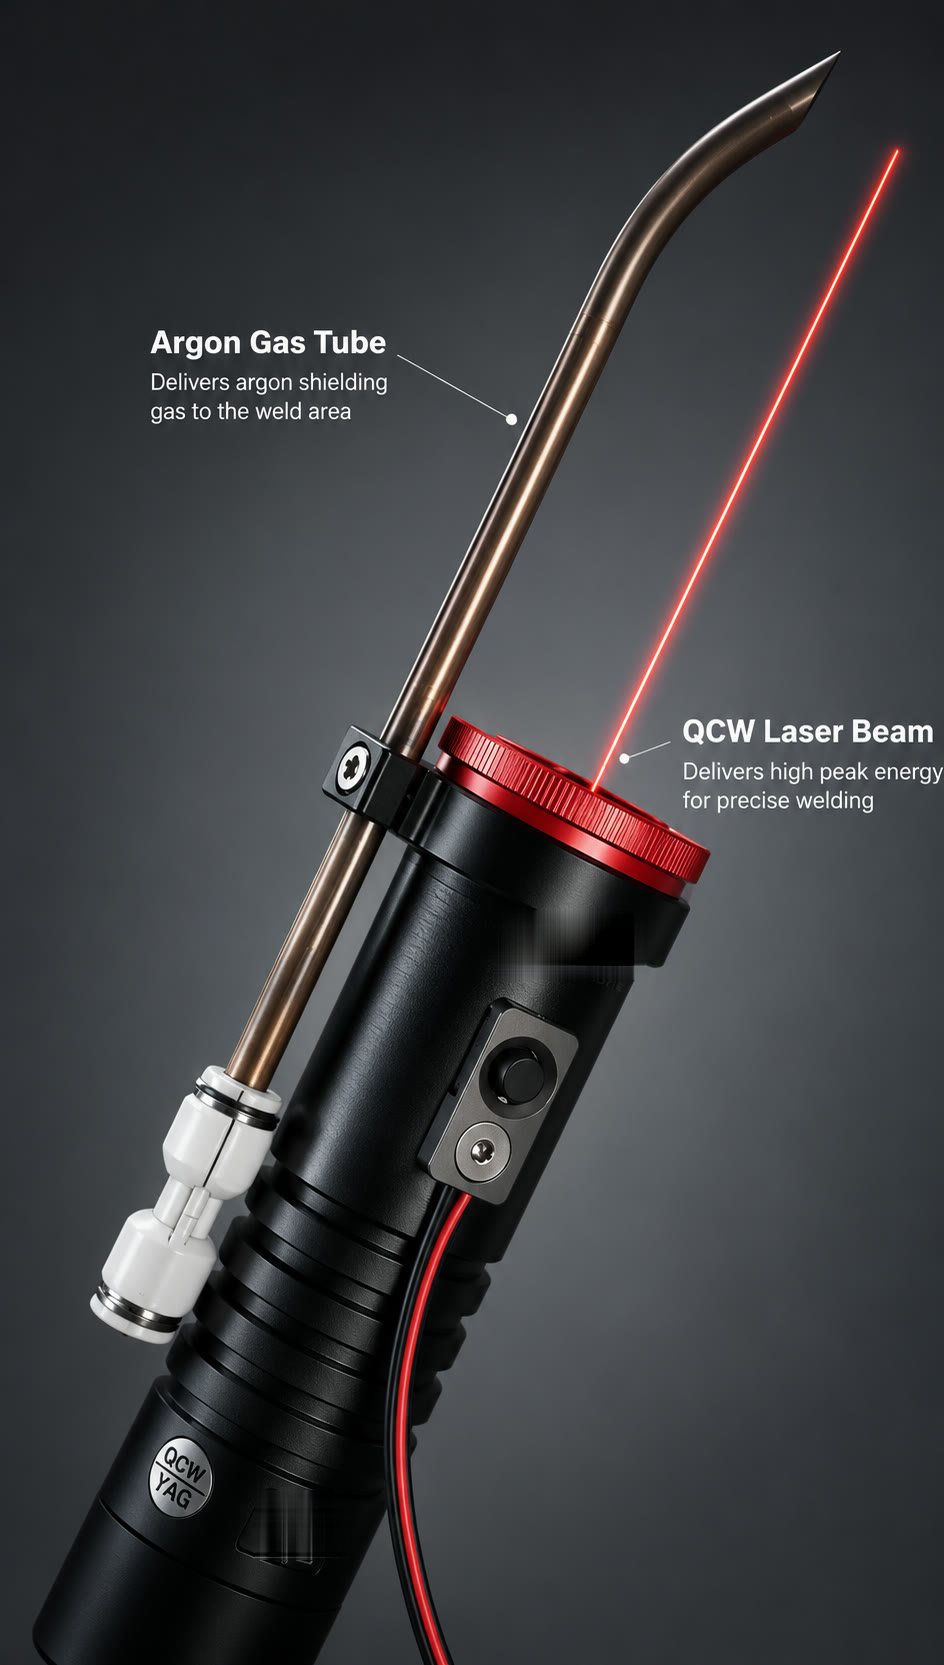
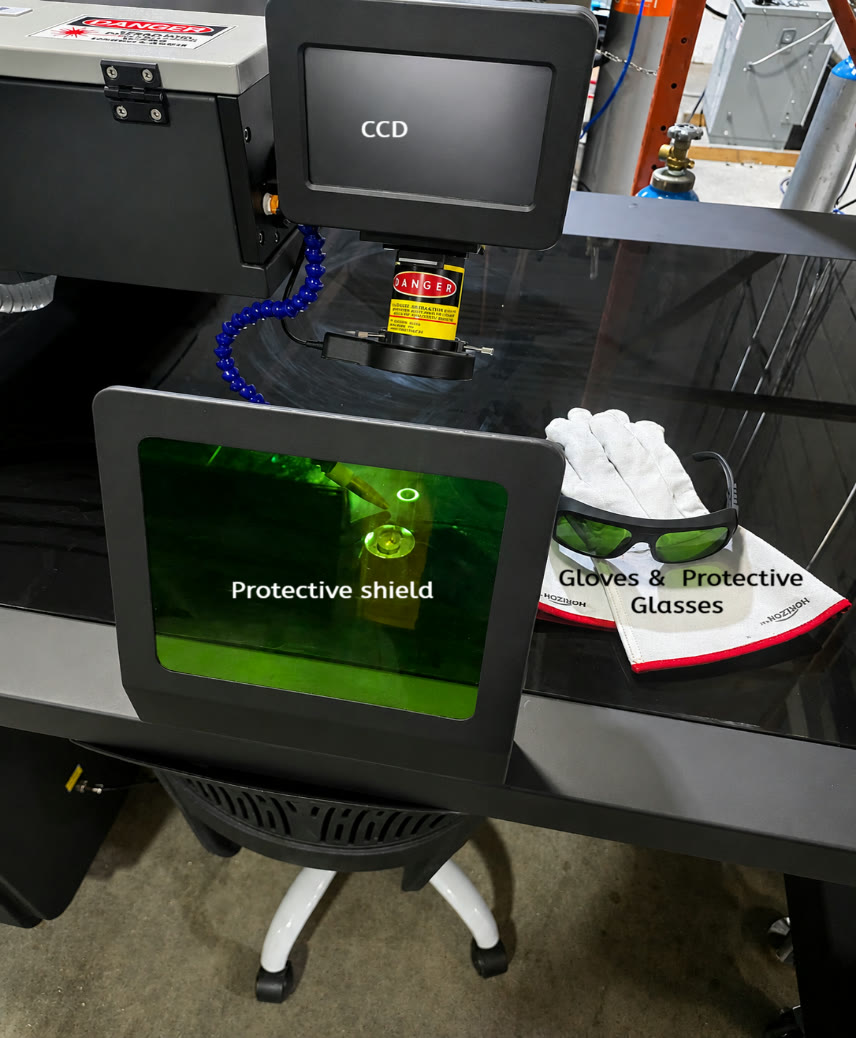
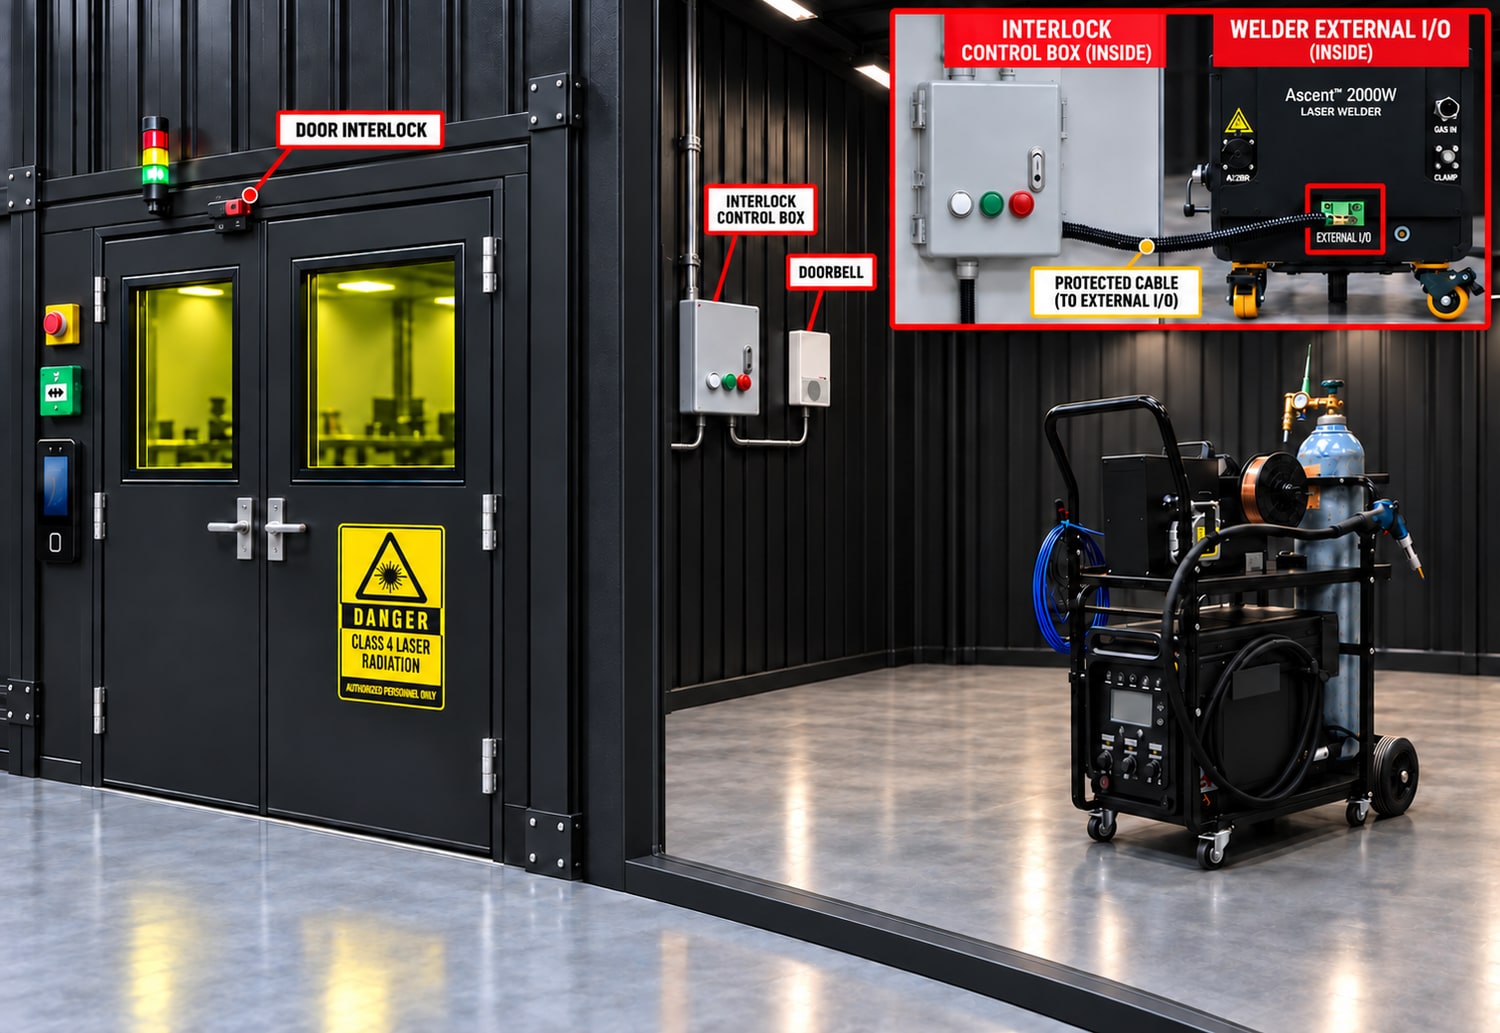
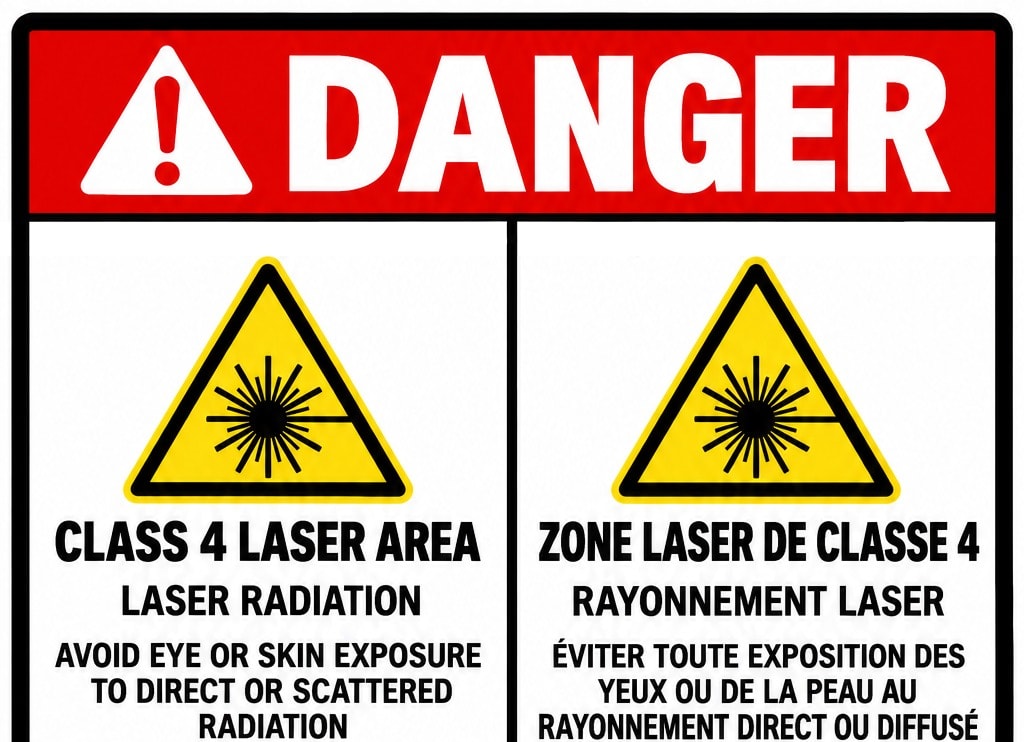
Wear laser eyewear rated for the wavelength (minimum OD 5; prefer OD 7 or 8), enclose the work area, and see our laser safety page. For small, thin parts, the QCW tabletop laser welder lets you fixture the part on the bench and line up the joint on a CCD camera. For questions about safe operating procedures in your own setup, contact us and we'll go through them with you.