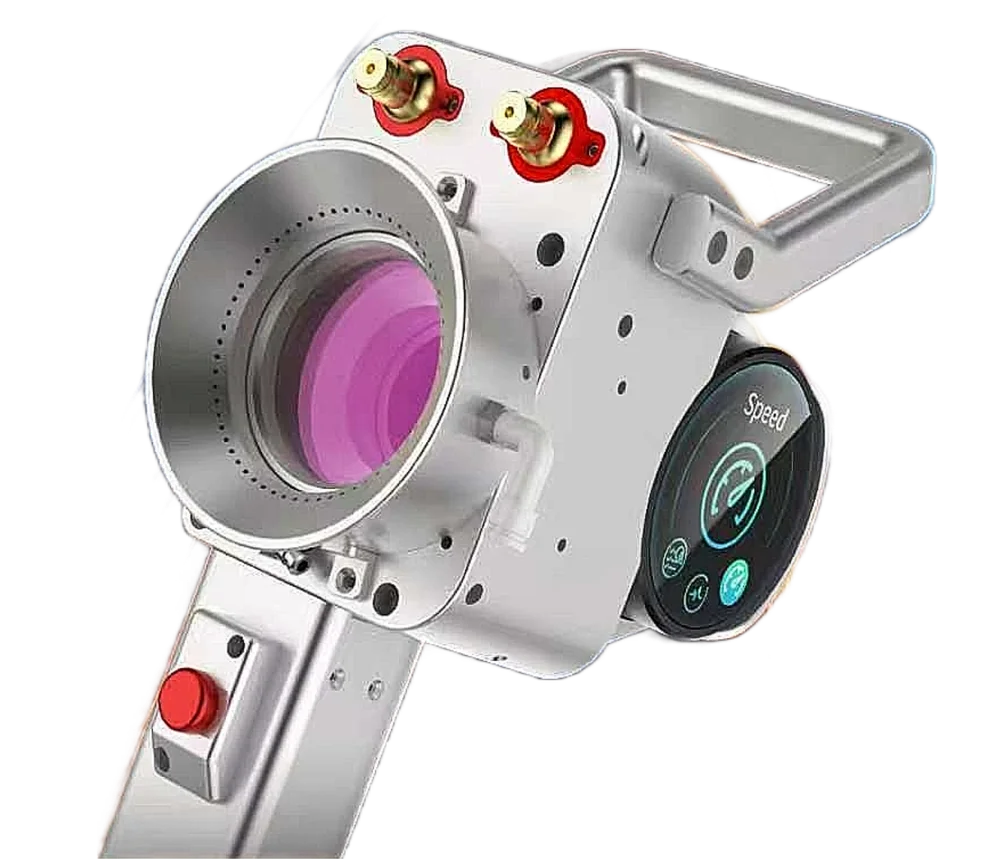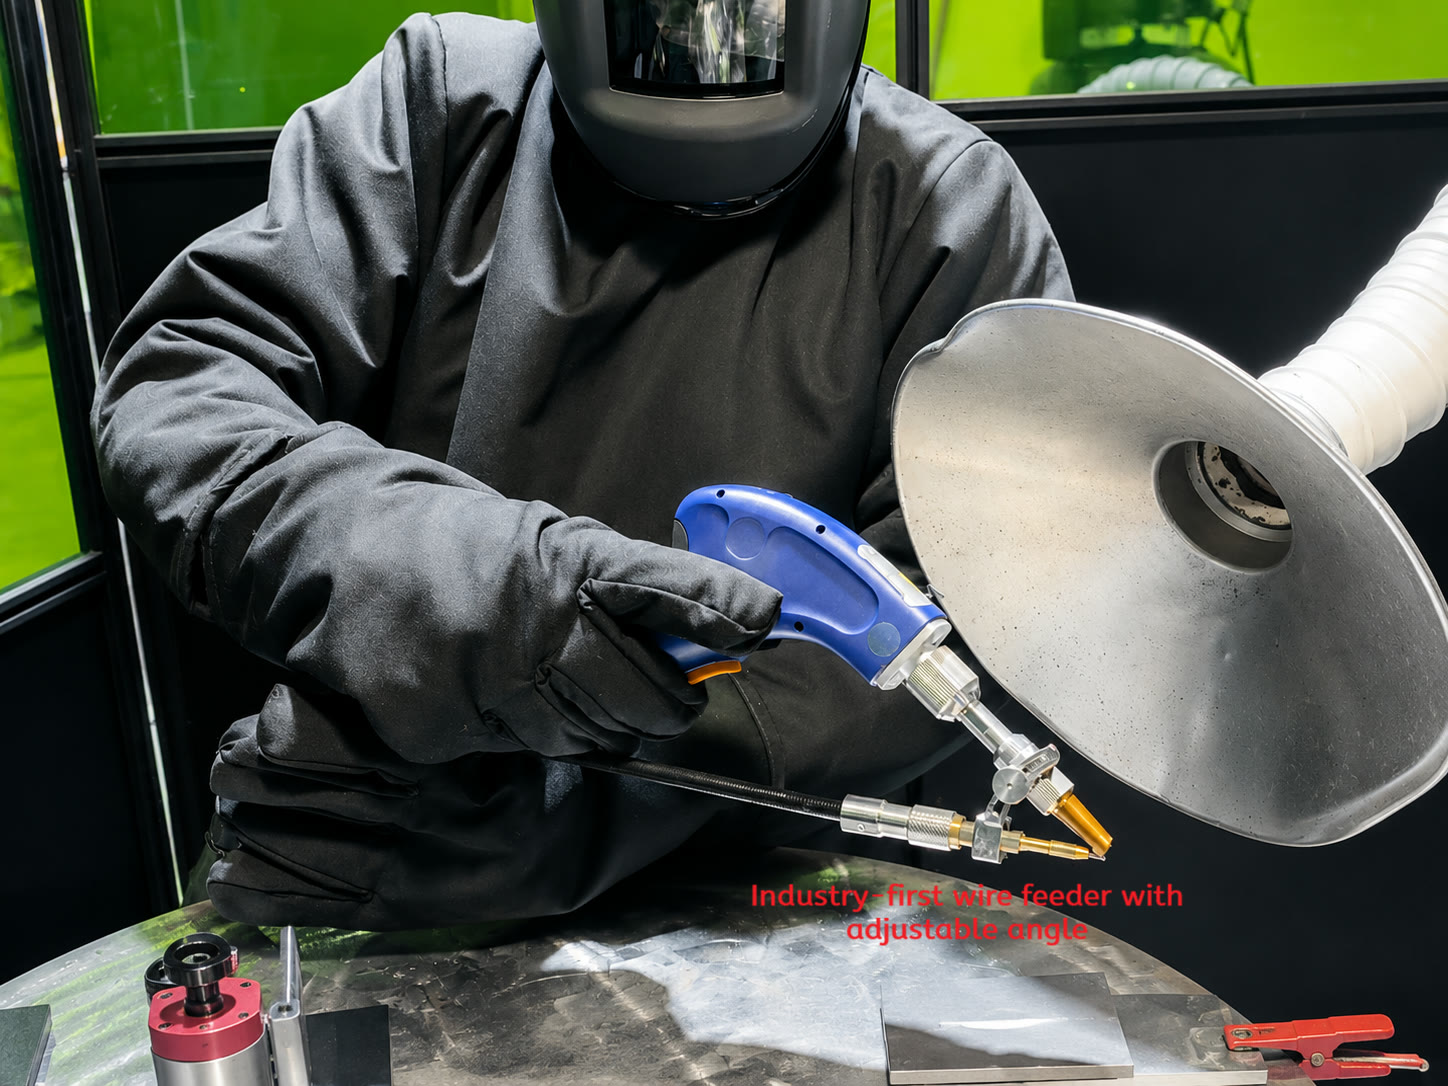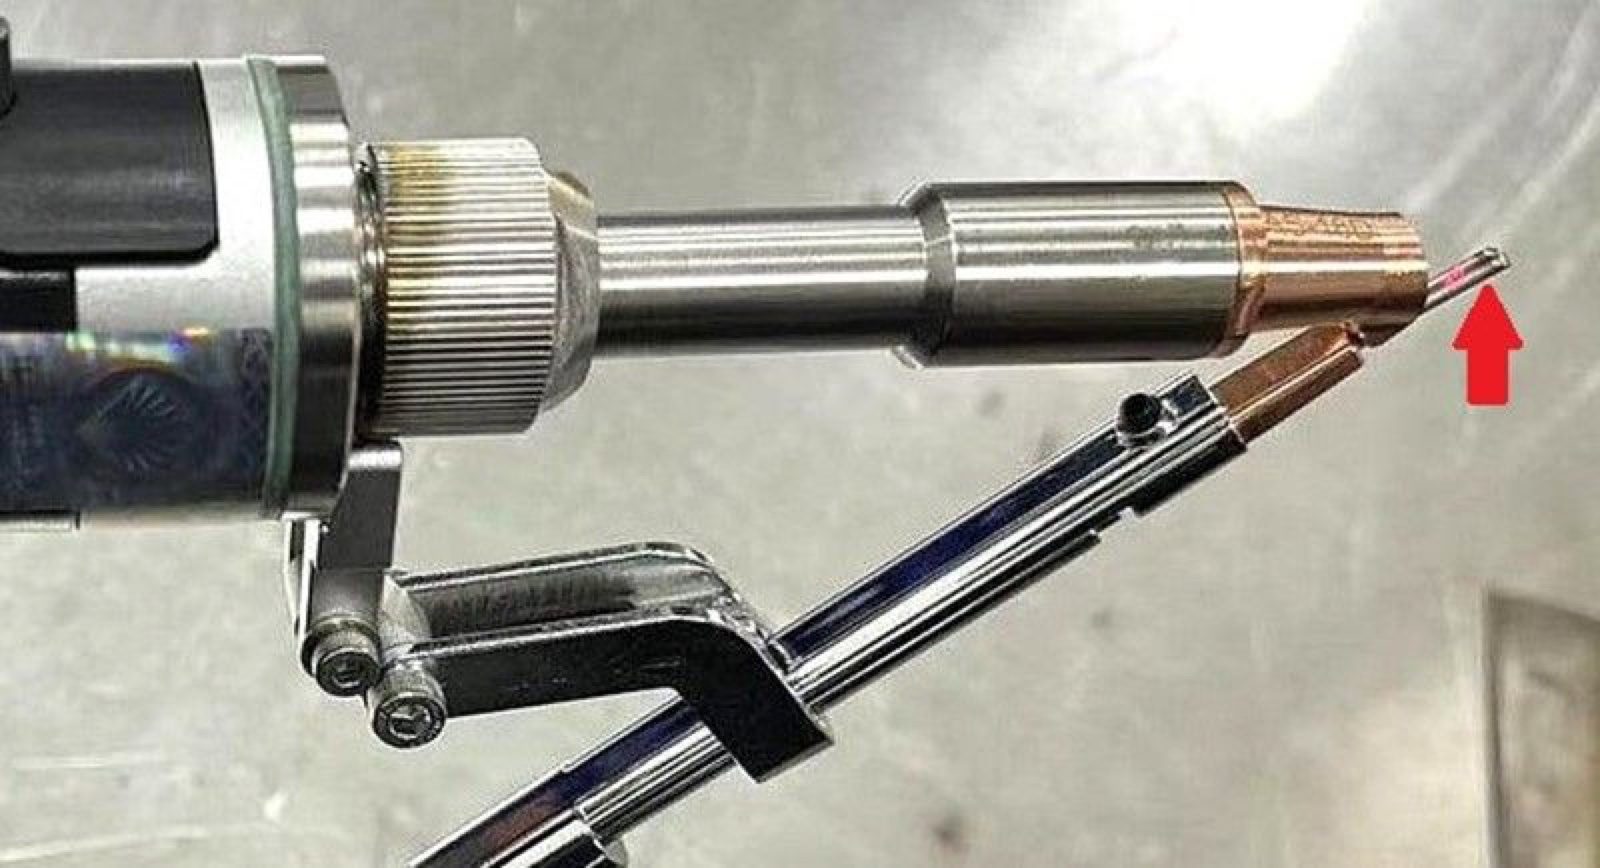
The nozzle on a handheld laser welding torch is a small part, but the right one makes the work easier. Its shape decides how well you can reach the joint and hold the torch, where the shielding gas goes, and whether filler wire can feed into the weld.
Ascent makes several nozzle tips, each drawn for different joints. Start with one question: will you weld with one wire, with two wires, or with no filler wire at all? Then pick the tip that fits the joint, and check that it fits your torch.
This guide walks through Ascent's nozzle application chart for the Ascent refrigeration laser welders. It doesn't cover the STR Series. The machine instructions, operator training and a test weld on your own material still have the final say.
Start with the joint
Most sheet-metal work comes down to a handful of joints:
- Butt joint: two edges meet in the same plane.
- T-joint or inside fillet: one part meets the face of another and forms an inside corner.
- Lap joint: one sheet overlaps another.
- Edge joint: two sheets sit side by side and are welded along their exposed edges.
- Outside corner: two parts meet at an outside corner.
A tip that handles a flat butt seam with ease may not reach into an inside fillet. Choose one that lets you hold the approved torch angle and working distance, with the beam and the gas both aimed at the joint.
Ascent's nozzle chart at a glance
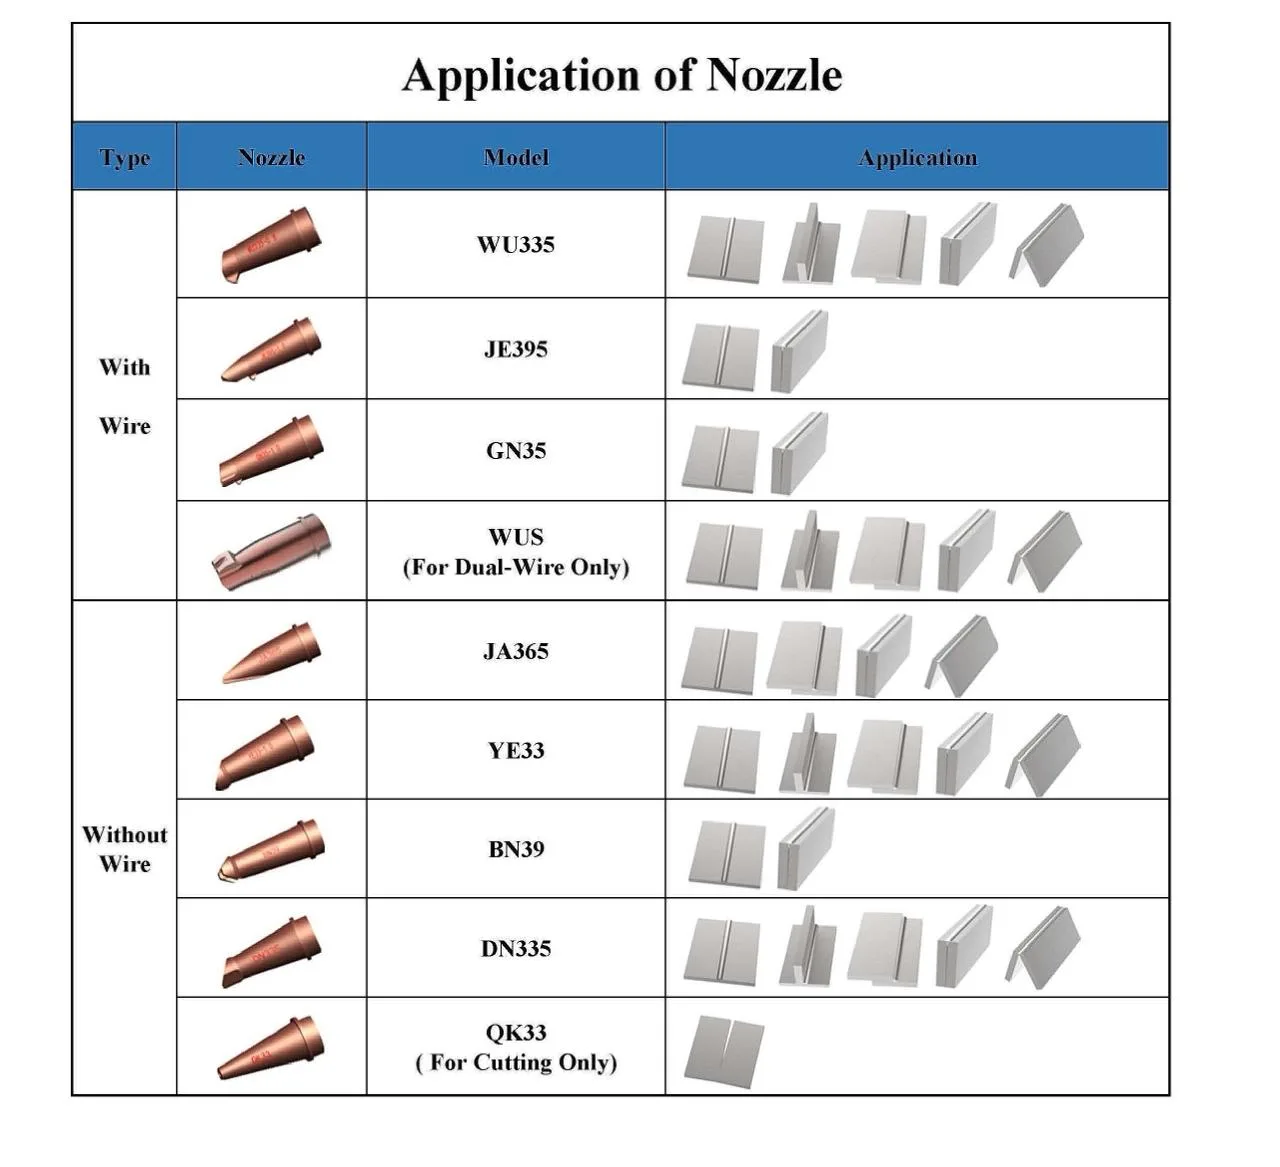
Here is what the chart shows for each tip. The joint names are our reading of its drawings.
| Tip | Use | Joints shown in the chart |
|---|---|---|
| WU335 | With wire | Butt, inside fillet/T-joint, lap, edge and outside corner |
| JE395 | With wire | Butt and edge |
| GN35 | With wire | Butt and edge |
| WUS | Dual wire only | Butt, inside fillet/T-joint, lap, edge and outside corner |
| JA365 | Without wire | Butt, lap, edge and outside corner |
| YE33 | Without wire | Butt, inside fillet/T-joint, lap, edge and outside corner |
| BN39 | Without wire | Butt and edge |
| DN335 | Without wire | Butt, inside fillet/T-joint, lap, edge and outside corner |
| QK33 | Cutting only | Cutting. This is not a welding tip. |
The chart groups the tips by use. It doesn't say that every tip in a group works the same way, so confirm the right one for your torch, material, access and approved welding procedure.
Nozzles that come with the welder
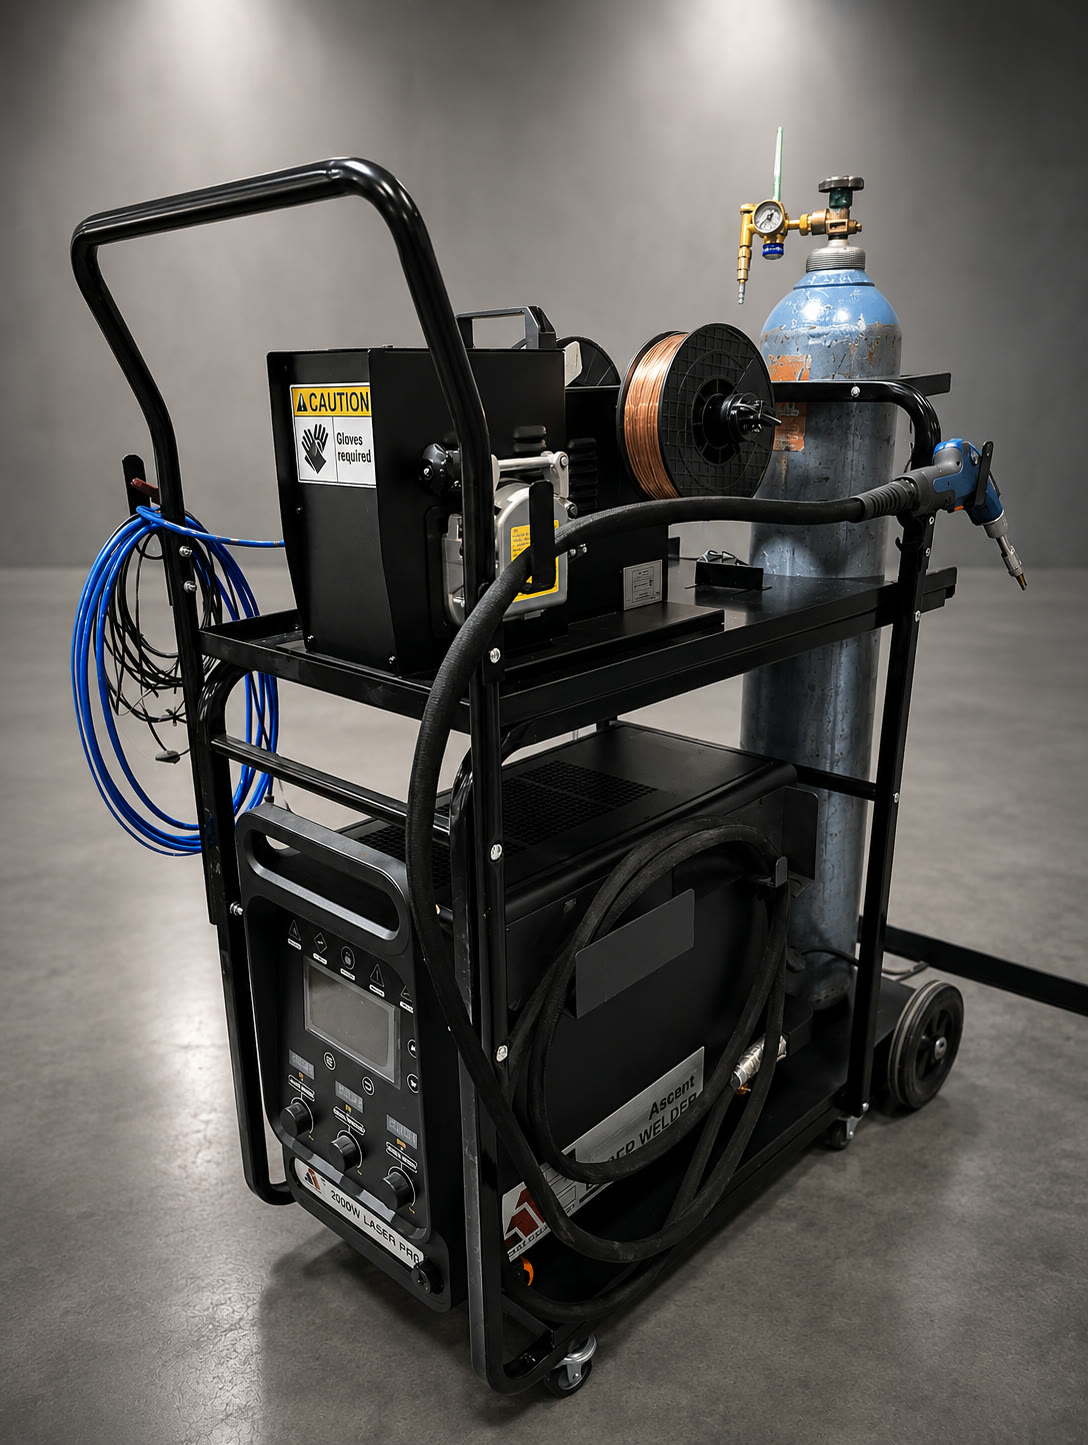
Each welder ships with 15 copper welding nozzles in 7 types, in 1.0, 1.2 and 1.6 mm (0.039, 0.047 and 0.063 in) sizes. The box also has one copper cutting nozzle and three wire-feeding guide nozzles, one each for 1.0, 1.2 and 1.6 mm wire. The full accessory list is on the Ascent refrigeration laser welders page. If your joints call for a tip that isn't in the box, contact us.
Welding with filler wire
Filler wire adds metal to the weld pool. Whether you need it depends on the alloy, the joint design, the fit-up, the weld profile you want and your acceptance criteria.
WU335: one tip for many joints
Of the single-wire tips, the WU335 is drawn on the widest range of joints: butt, inside fillet, lap, edge and outside corner. That makes it a good place to start if your shop welds many kinds of joints. You still need to check that it reaches the joint and puts the wire where the weld pool needs it.
JE395 and GN35: butt and edge joints
The chart shows both the JE395 and the GN35 on butt and edge joints, and it doesn't say when to pick one over the other. Decide with Ascent's guidance for your torch and a test weld on a sample. Check the clearance, working distance, wire alignment and gas coverage.
WUS: dual wire only
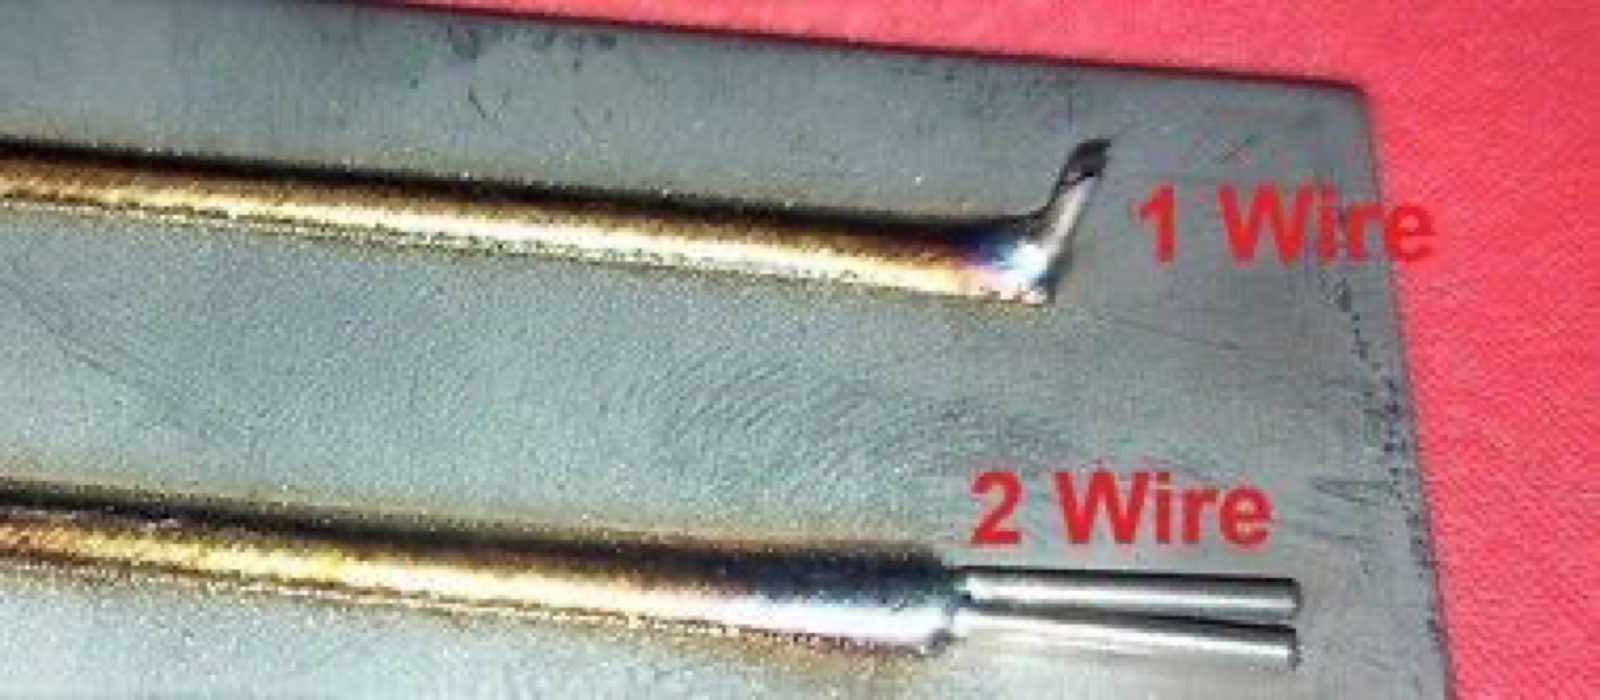
The WUS is labeled "For Dual-Wire Only." The chart draws it on butt, inside fillet, lap, edge and outside-corner joints. Use it with the matching dual-wire feed and approved settings.
Two wires change how much filler goes into the pool and where it lands, so don't carry a single-wire recipe over without testing it first. Dual wire doesn't make up for poor fit-up, and the filler still has to suit the alloy.
Welding without filler wire
Welding without filler is often called autogenous welding. The laser melts the parent metal itself to make the joint.
It needs suitable materials, the right joint geometry and tight fit-up (see our post on fit-up and gap control). It isn't right for every aluminum alloy or every weld requirement.
YE33 and DN335: many joints
The chart shows the YE33 and the DN335 on butt, inside fillet/T-joint, lap, edge and outside-corner joints. Either one is a candidate when you weld several kinds of joints without wire. Being in the same group doesn't make them interchangeable, so check the right tip and setup with Ascent.
JA365: butt, lap, edge and outside corners
The JA365 is drawn on butt, lap, edge and outside-corner joints. The chart doesn't show it on an inside fillet or T-joint. For those, look at the YE33 or the DN335 and check that it suits the actual part.
BN39: butt and edge joints
The BN39 is drawn on butt and edge joints without wire. As with every tip, make sure its shape lets you hold the torch steady and keep gas over the seam from start to finish.
The QK33 is for cutting
The QK33 is marked "For Cutting Only." It appears in the chart's "Without Wire" group, but it isn't a welding nozzle. Cutting needs the right operating mode, an approved setup, the right gas and the safety controls for that work.
Check more than the nozzle
The right nozzle is only one part of the setup. Before you start production, check:
- Torch fit: the right model, attached and installed correctly.
- Access: enough room to reach the joint without forcing the torch into a bad angle.
- Working distance and focus: correct for the nozzle and welding head you have installed.
- Wire alignment: when you use wire, it enters the weld pool at the same spot every time.
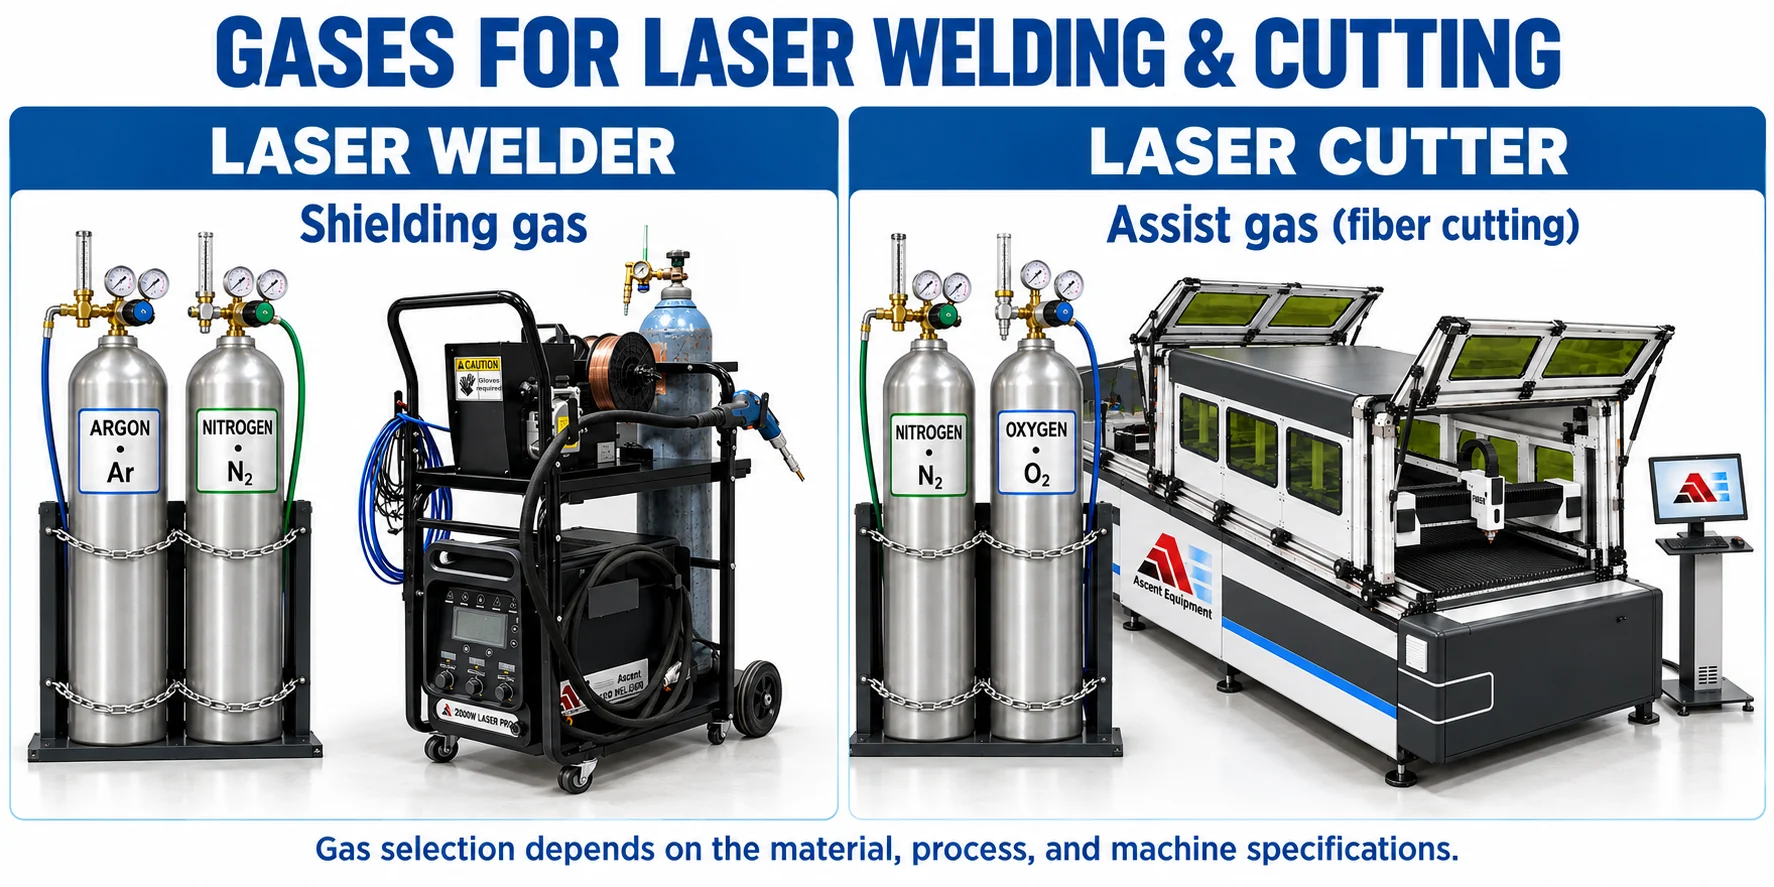
- Gas coverage: the nozzle is clean and undamaged and gets the specified shielding gas.
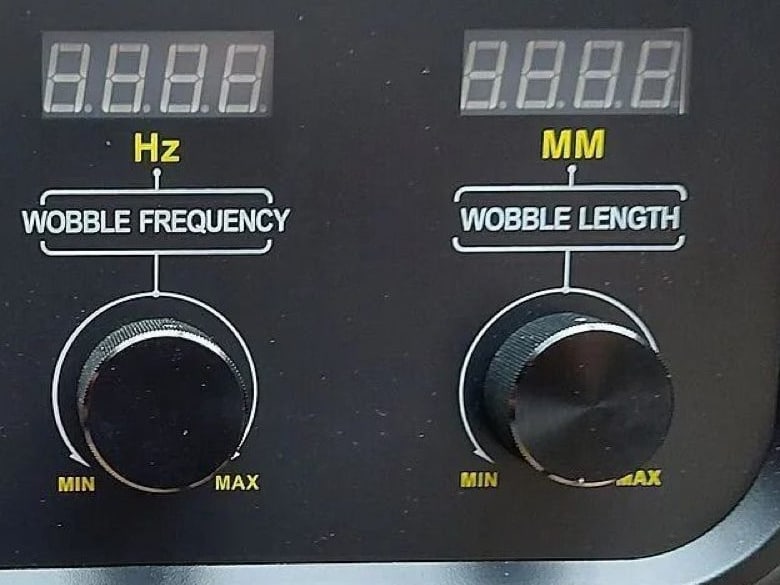
- Beam clearance: the nozzle suits the approved beam movement and wobble settings.
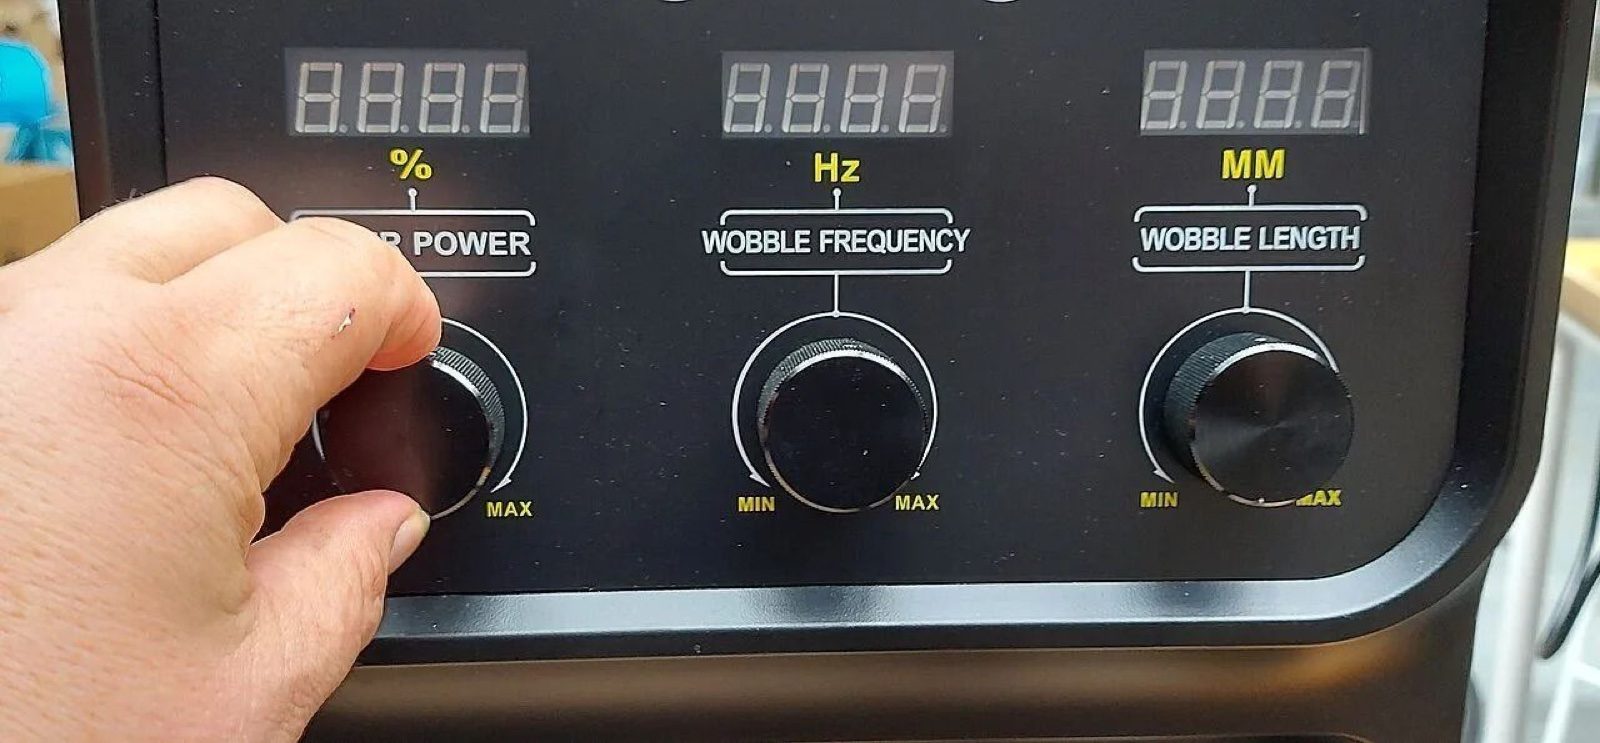
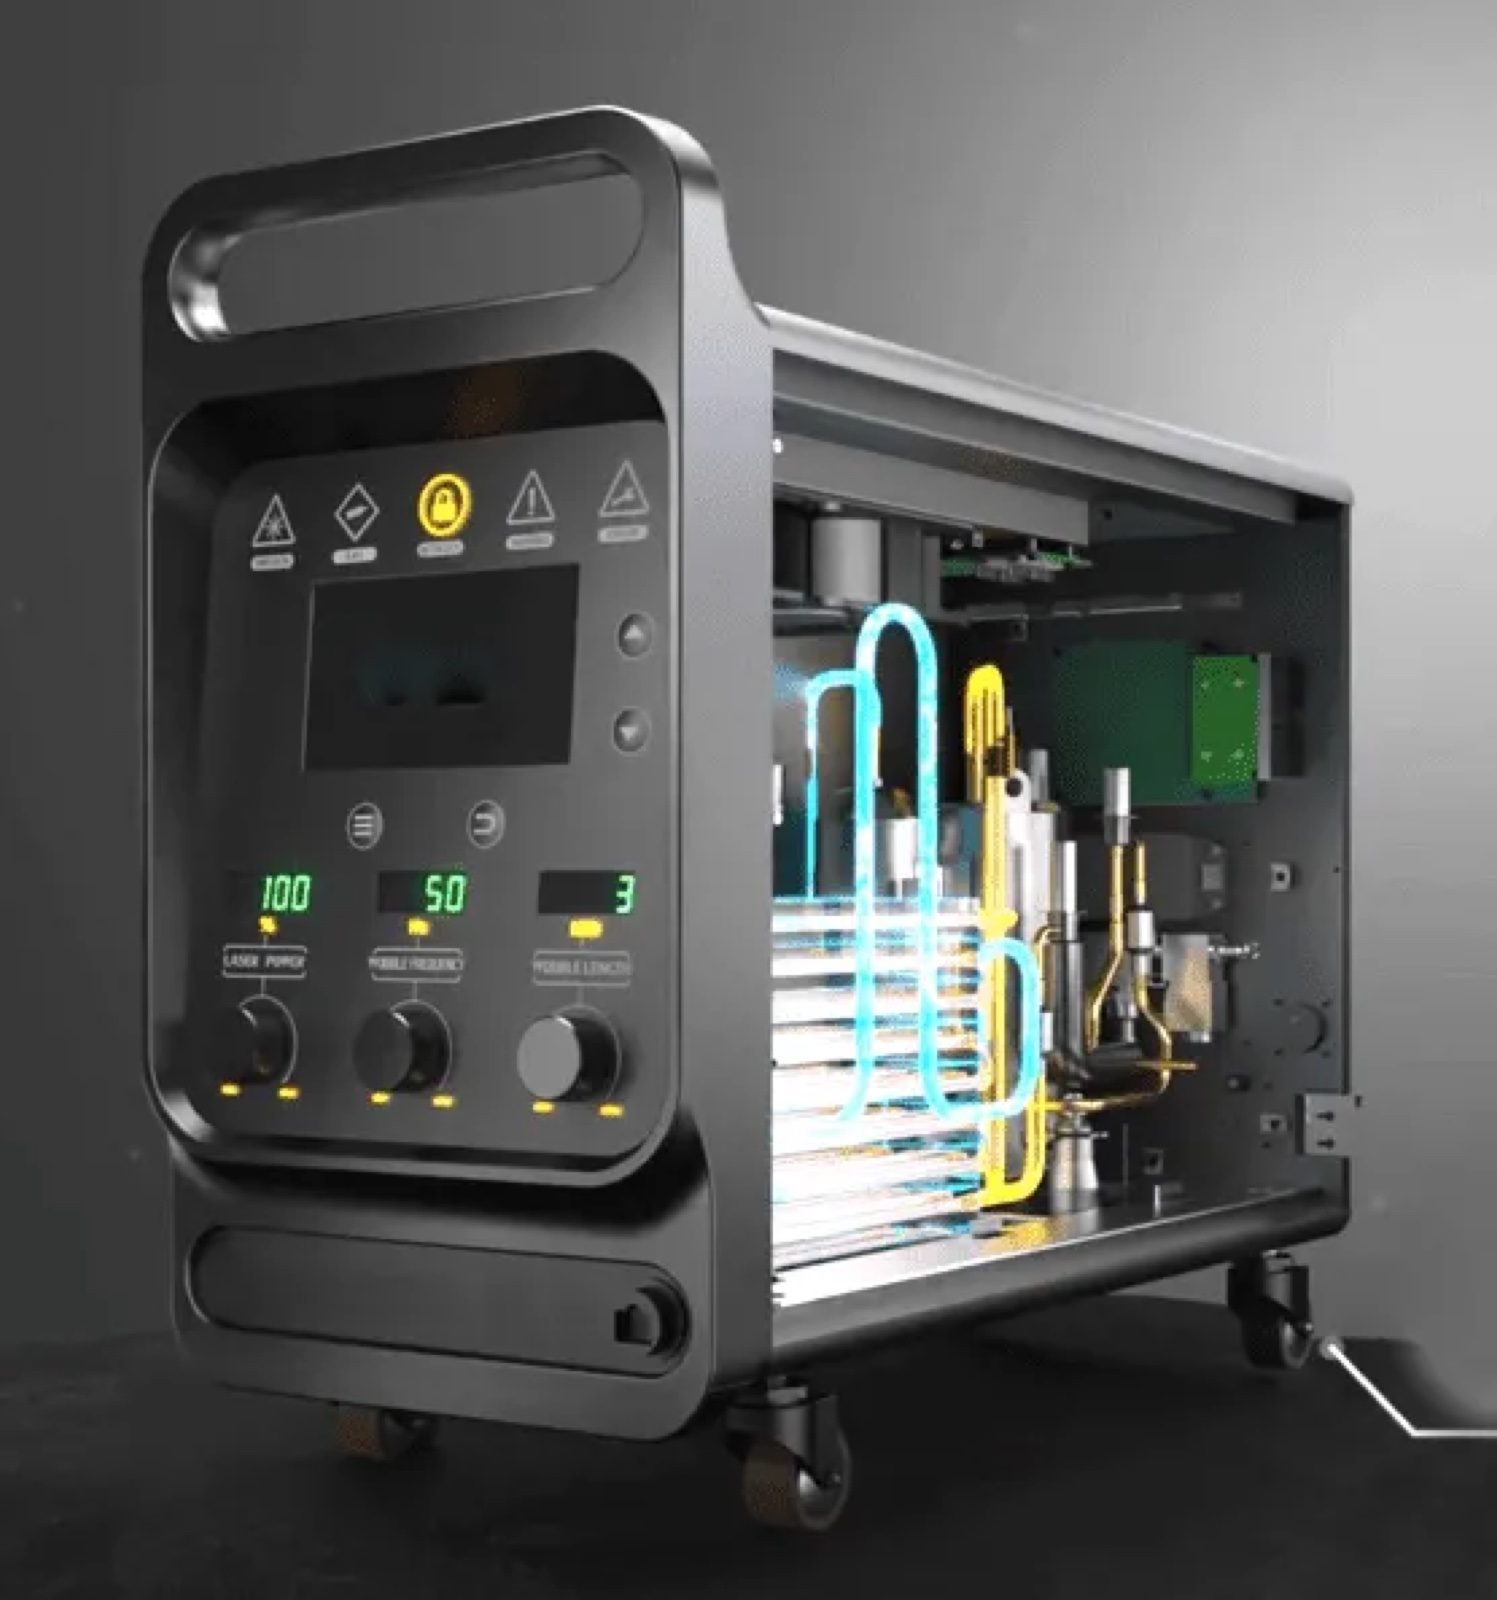
The manual for the Ascent 2000W refrigeration laser welder sets a maximum wobble length of 3.0 mm (0.12 in) for that machine. That's a limit, not permission to run every nozzle at every setting. Check the approved combination for the head you have installed.
When weld quality changes, check the tip
A damaged or dirty nozzle can throw off the torch position, disturb the shielding gas and make welds inconsistent.
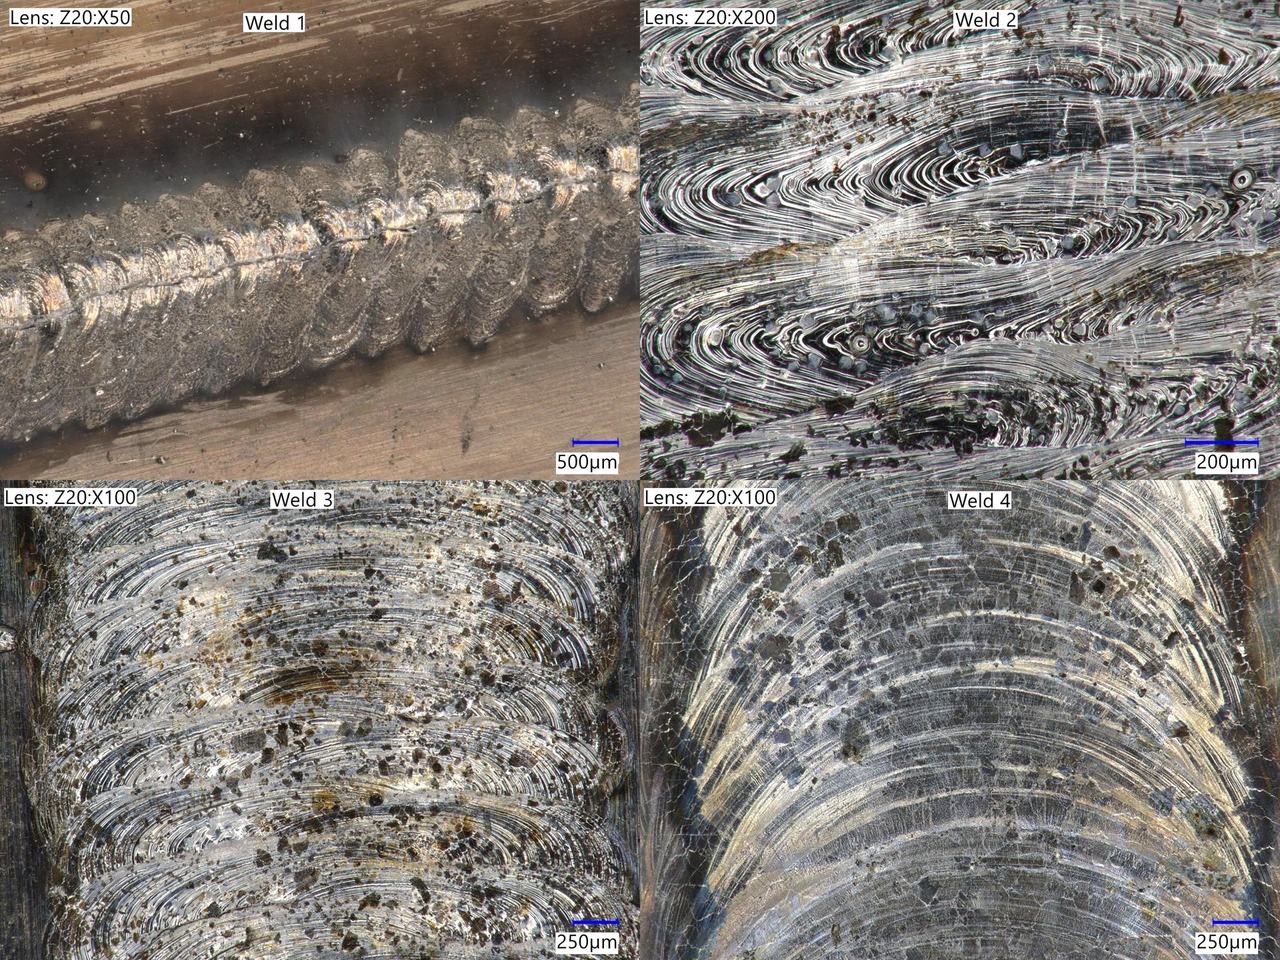
If your welds turn porous, hazy, uneven or spattery, check the material prep, gas delivery, nozzle, protective optics, fit-up and torch position before you turn up the power.
Replace damaged parts with approved ones. Don't drill, grind or reshape a nozzle to make it fit a different job.
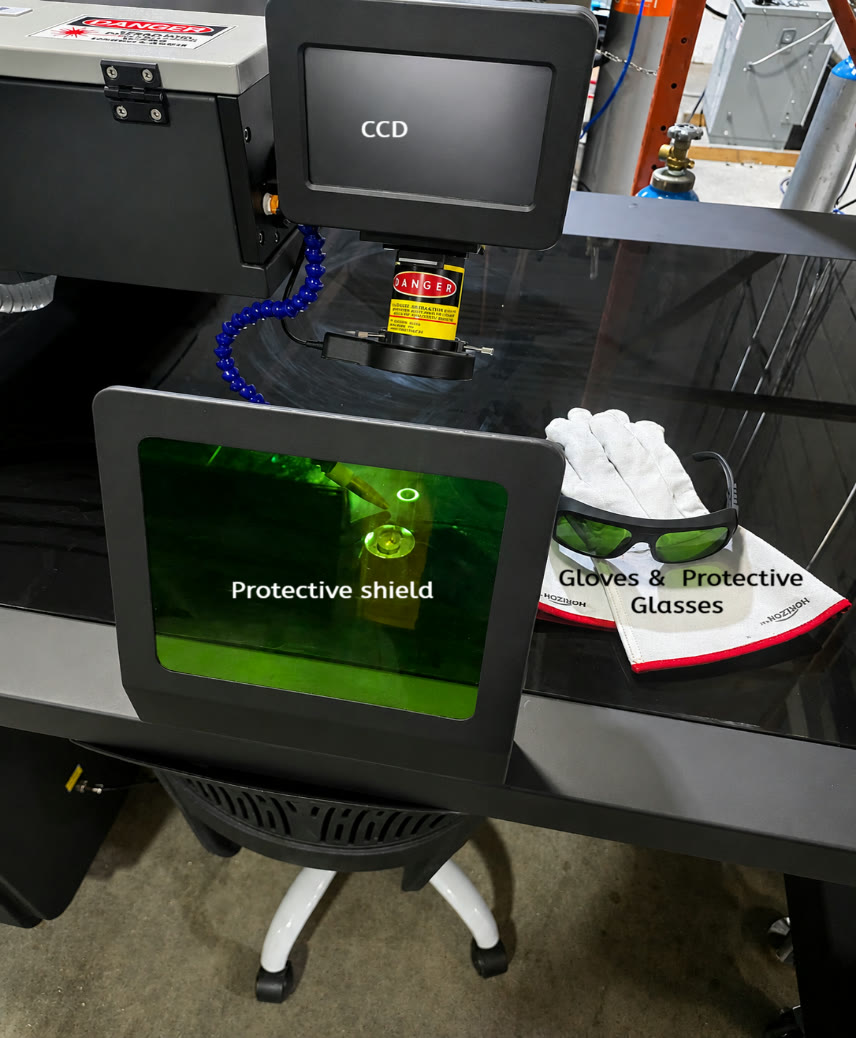
Before you change a tip, switch off laser emission and follow the shutdown and isolation steps in the manual. Let hot parts cool, and never bypass a contact sensor or an interlock.
Prove the setup before production
After you switch to a different nozzle, make a test weld with the same material, thickness, joint, filler, gas and position you'll use in production.
Inspect the bead, and check fusion and penetration with your quality procedure. Write down the nozzle model next to the power, travel speed, wobble frequency, wobble length and filler settings.
The right nozzle helps the operator reach the joint and follow it steadily. A validated welding procedure is what proves the setup makes a good weld.
Need help picking a tip?
Send Ascent Lasers Pro your machine and torch model, a photo of the joint, the alloy and thickness, and whether you'll weld with one wire, two wires or none. We'll help you choose the tip for the job. The same chart is on the Ascent refrigeration laser welders page, or you can contact us.
Email info@ascentlaserspro.com or call 1-800-927-5107 ext. 1008.
Sources
- Ascent nozzle application chart ("Application of Nozzle")
- Ascent Equipment Laser Welder 2000W User Manual, REV-2-2026