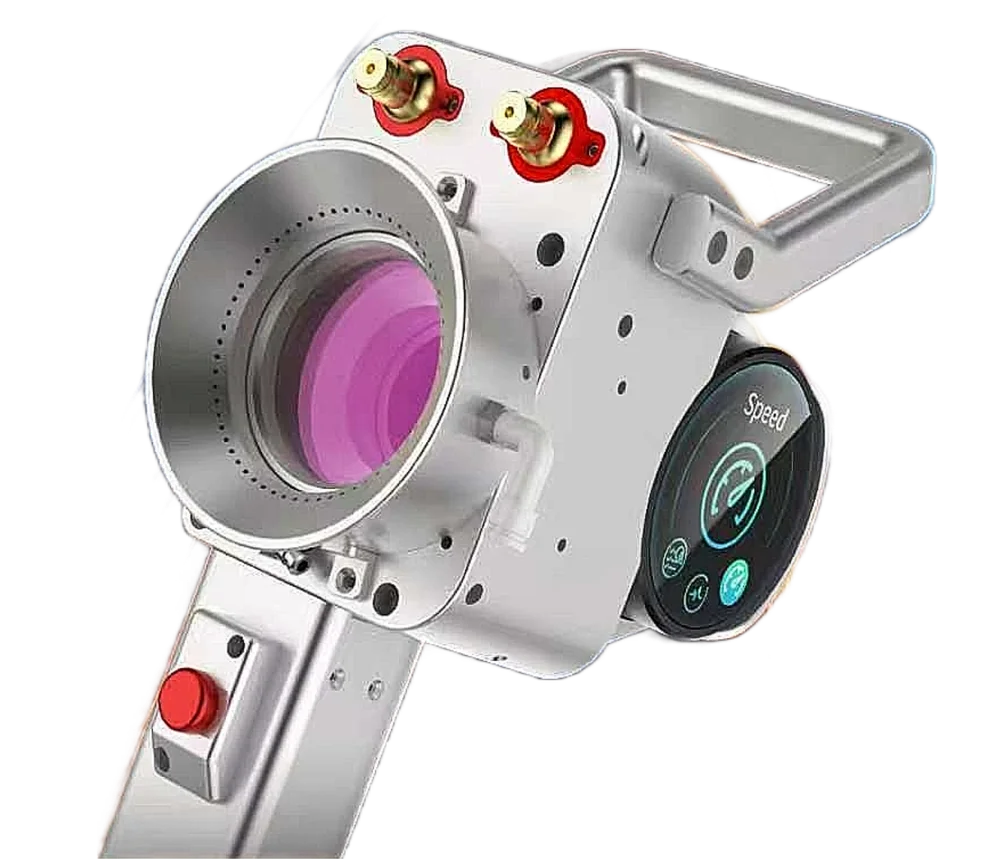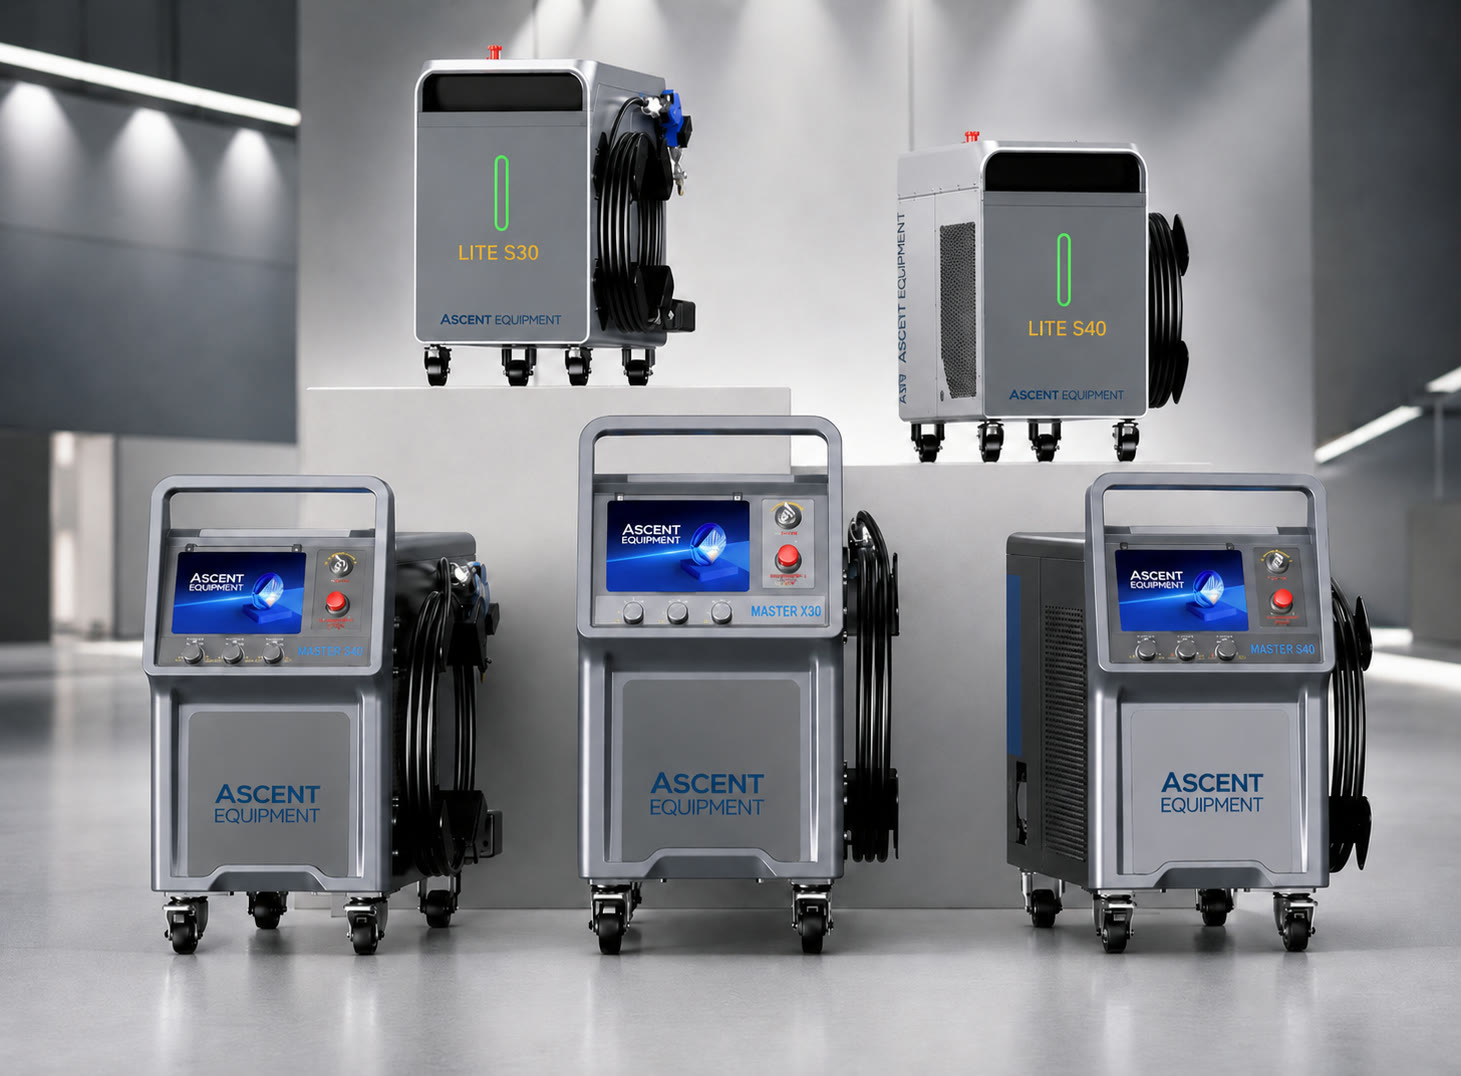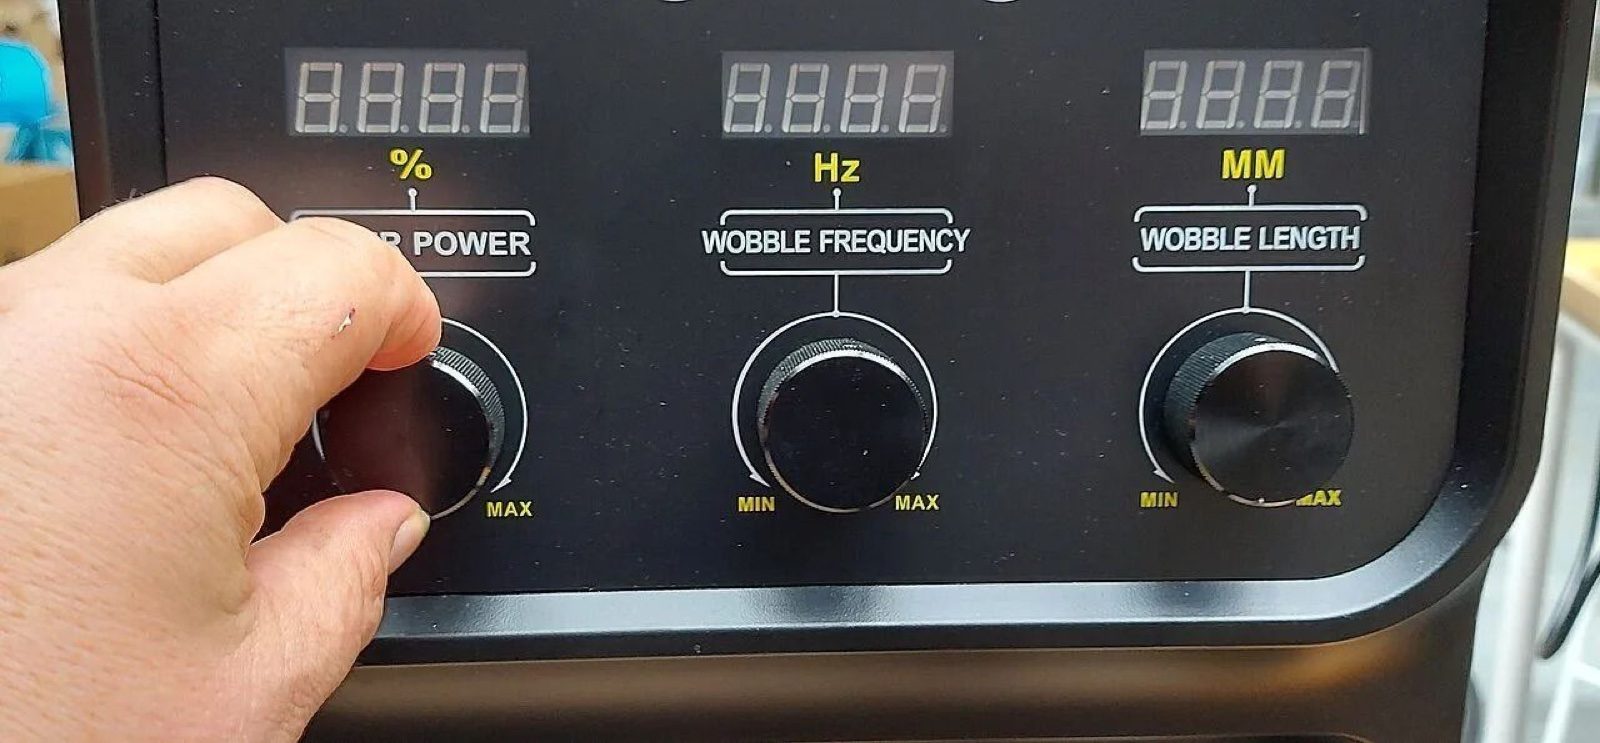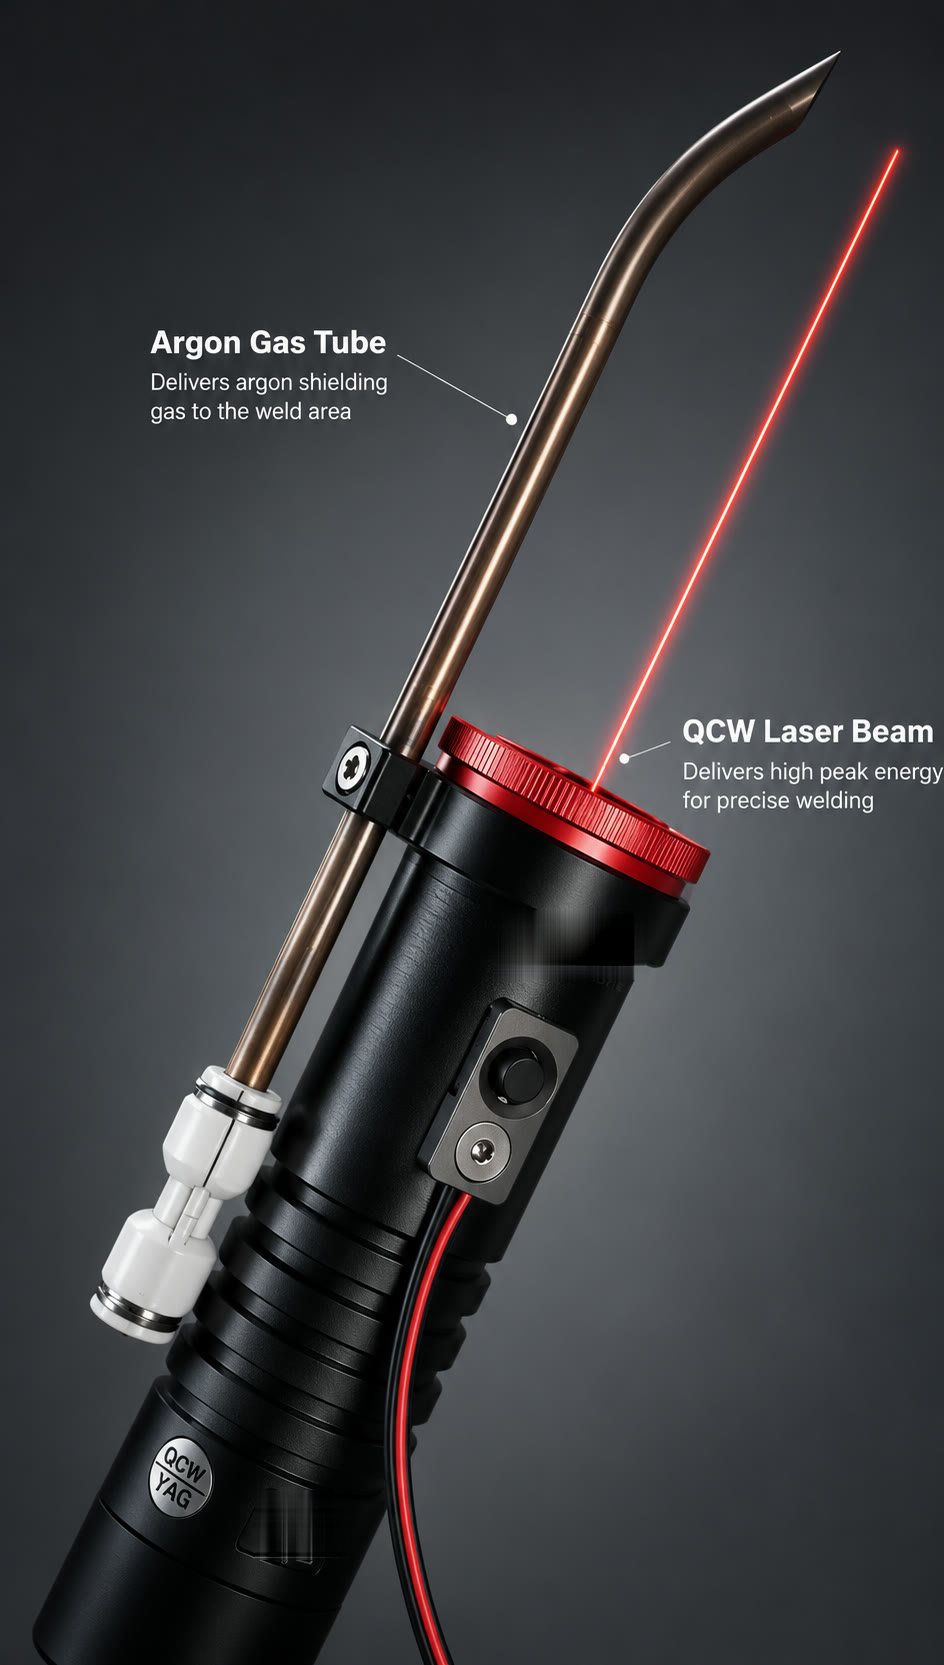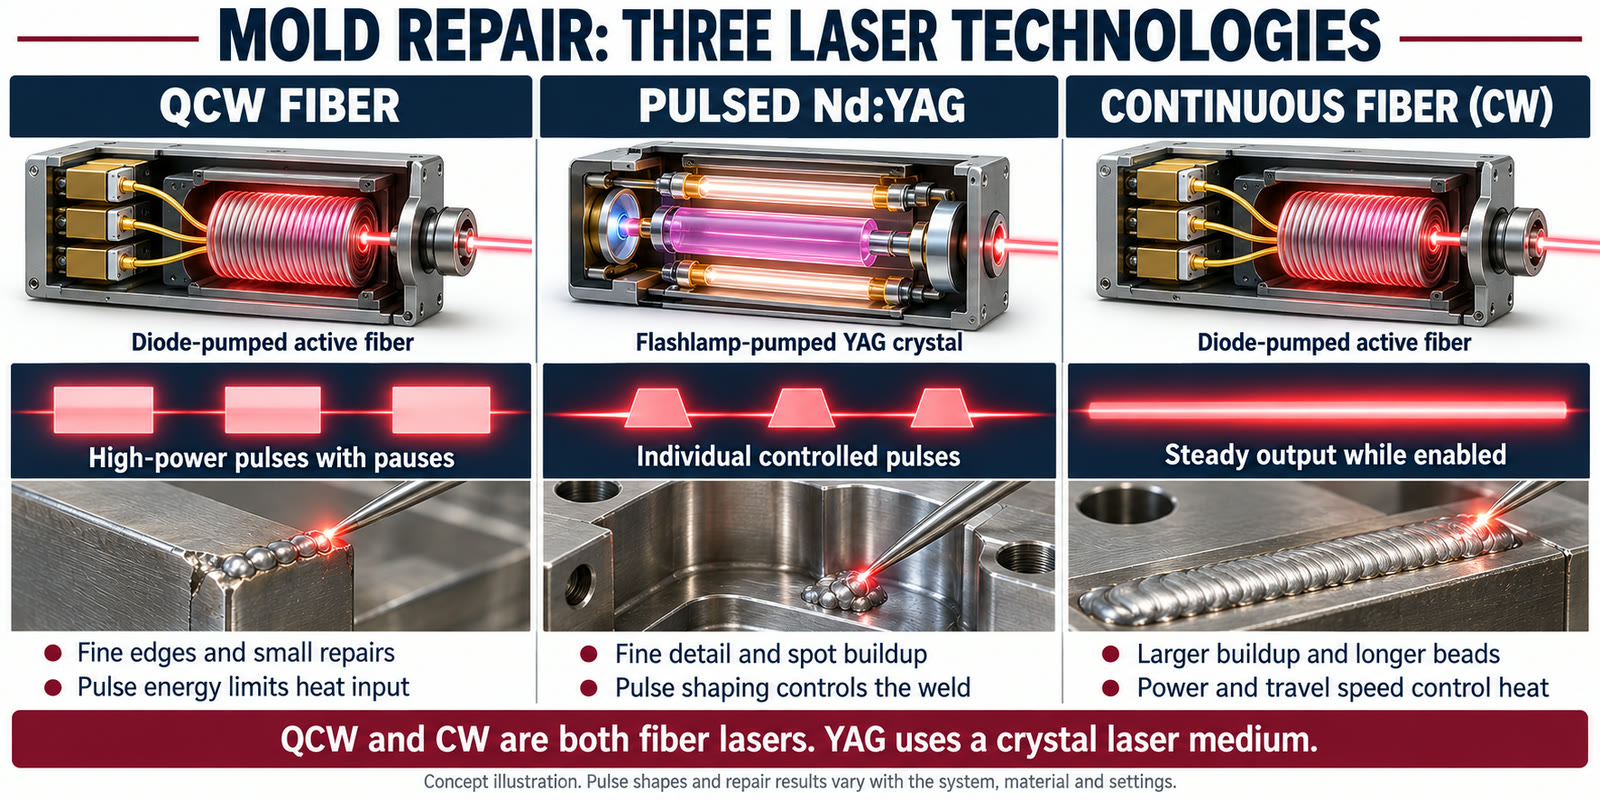
A laser welding station needs planning, from where the machine stands to what sits within reach of the table. The guidance below fits both the Ascent 2000W handheld laser welder and the QCW tabletop and handheld welder.
1. Choose the location
Three things need to check out before you settle on a spot.
Ventilation comes first. Fume extraction has to be in the plan from the start, so the station must sit near an extractor that can discharge outdoors, instead of a lone air filter in a corner. Plot the duct route before anything else, or you'll end up with a station in the middle of the shop that can't be vented affordably.
Then power. A 2000W handheld machine draws a lot of current. The Ascent 2000W welder takes 220V single-phase power at 31A, and the 3000W model takes 380V three-phase power at 17A. Give the welder its own circuit, not one shared with another large machine, and have an electrician confirm the supply before the machine arrives.
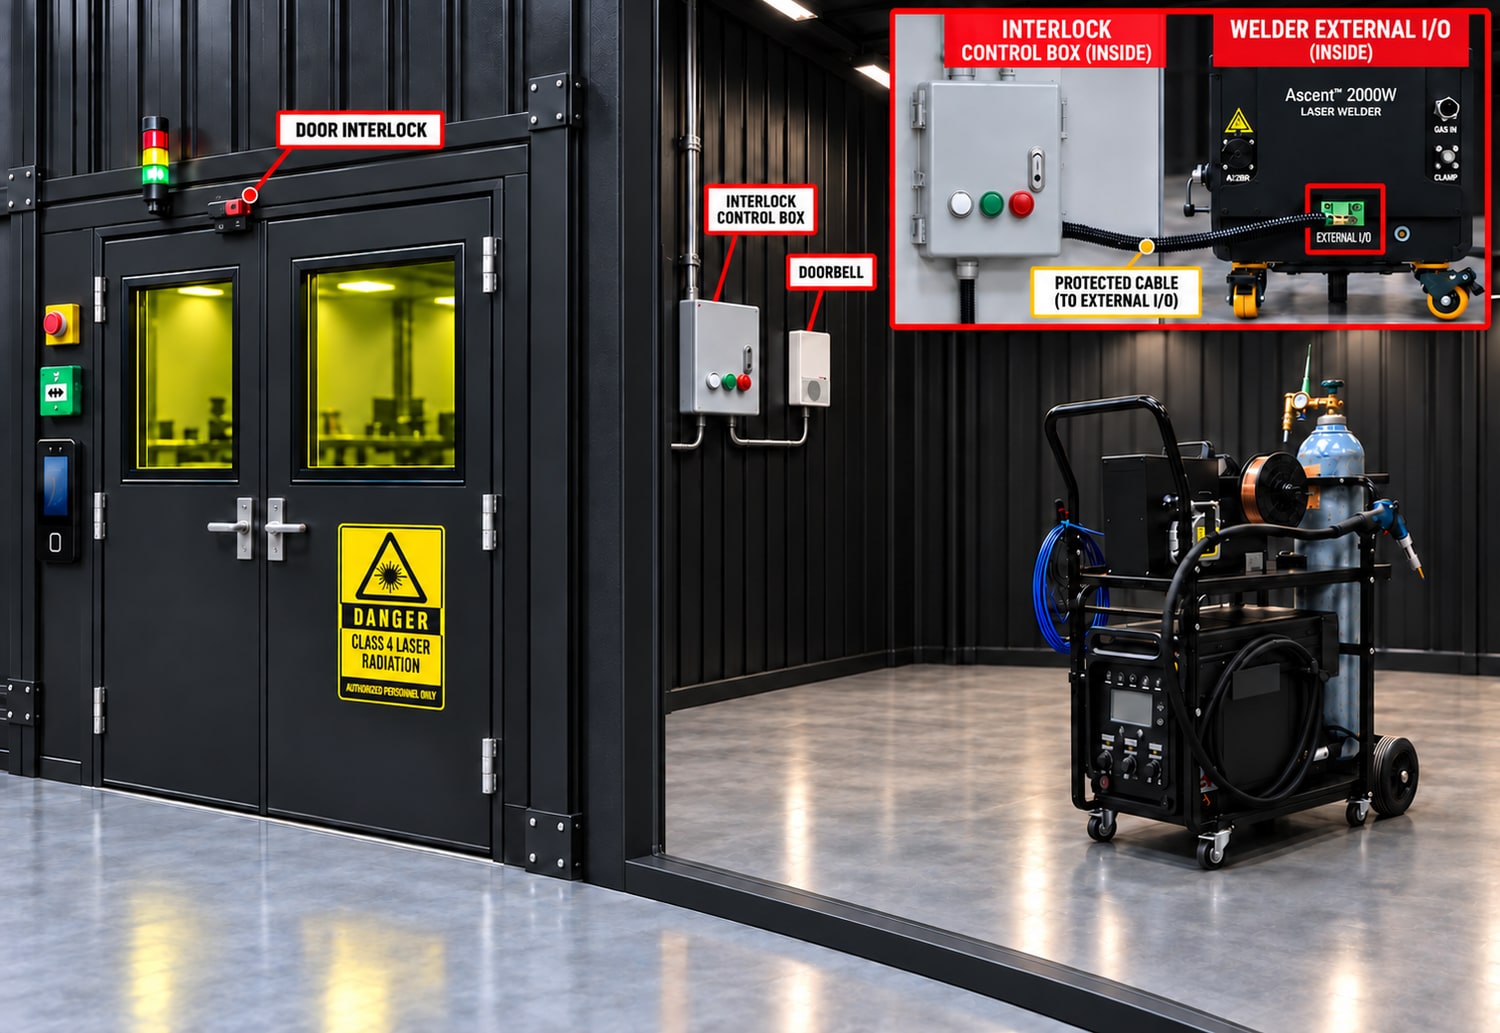
Then the safety zone. The zone covers wherever the beam is visible or might reflect, and you have to be able to define it and enforce it. A station in a busy aisle, next to another workstation or close to an open door can't be kept safe. Aim for a place where three sides can be enclosed with walls, partitions or laser curtains. Corners and alcoves are usually ideal, because two walls already exist and only one or two sides remain to close off.
2. Set the table height
A wrong height shows up within a week as back pain, poor welds and grumbling.
- Standing: put the tabletop about at elbow level, normally 36" to 40", so your arm bends roughly 90 degrees at the work instead of reaching up or down.
- Seated: use a table 28" to 32" high with a stool or chair to match. Sitting reduces fatigue on long runs and gives finer control of small parts.
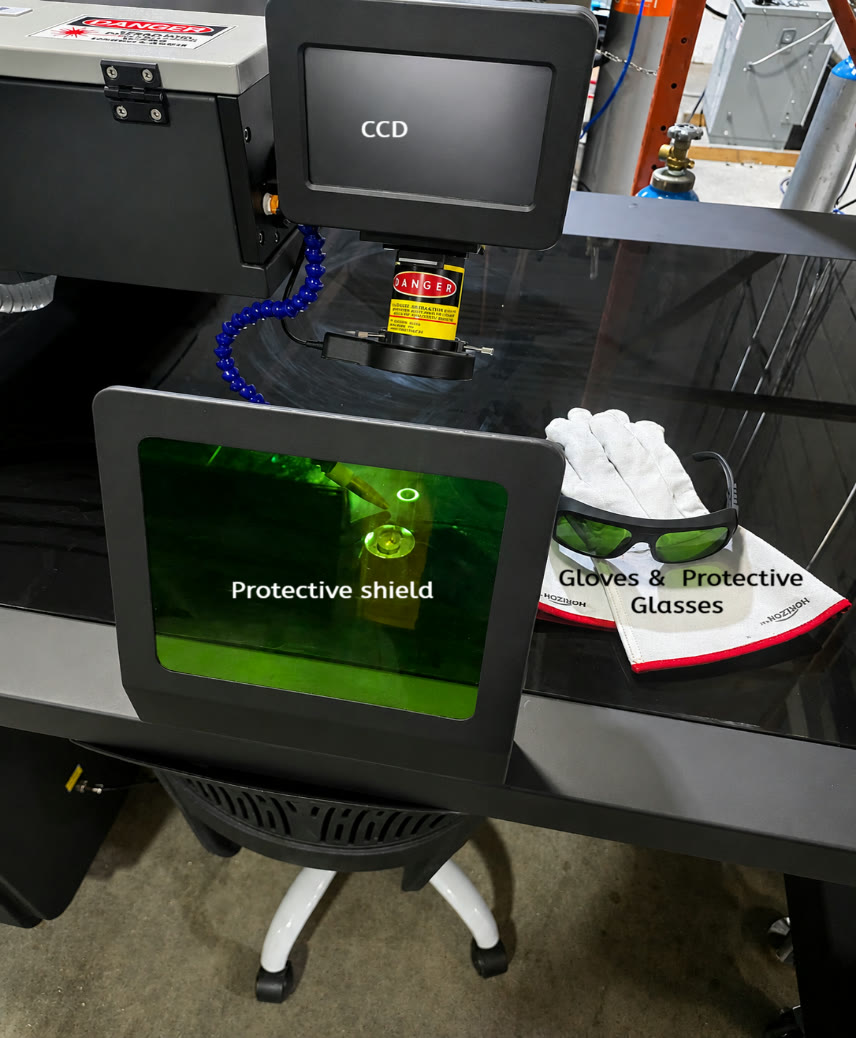
With the QCW tabletop welder, position the chair so the monitor is at eye level. Where several operators share a station, get a height-adjustable welding table, hand-cranked or powered; it pays for itself.
Choose a steel or aluminum plate for the surface, and never wood, which is too flammable around a Class 4 laser. A graphite felt mat on top absorbs stray energy and protects the surface.
3. Mark the safety zone
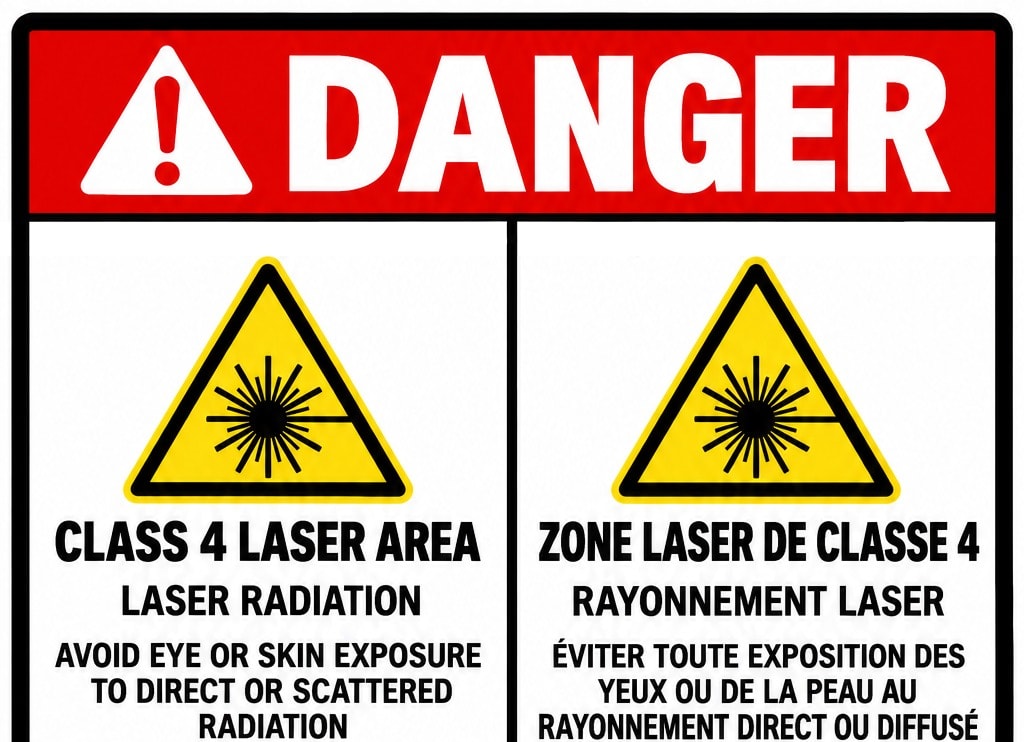
The zone is the area where a stray or reflected beam can injure someone. Everyone inside it wears laser glasses rated for the laser's wavelength. Minimum OD 5; prefer OD 7 or 8. A simple test: if you can see the welding head directly, you're inside the zone. Walls, solid partitions or laser-rated curtains must block every direct line of sight.
In a corner layout, two sides are walls, a curtain closes the third, and the fourth has a narrow curtain at the entrance that's easy to push aside. Outline the whole perimeter with yellow-and-black tape, and post a Class 4 laser warning at the entry that names the eyewear required. Size the zone from a hazard assessment, not from a rule of thumb. Our laser safety page explains how.
4. Fume extraction
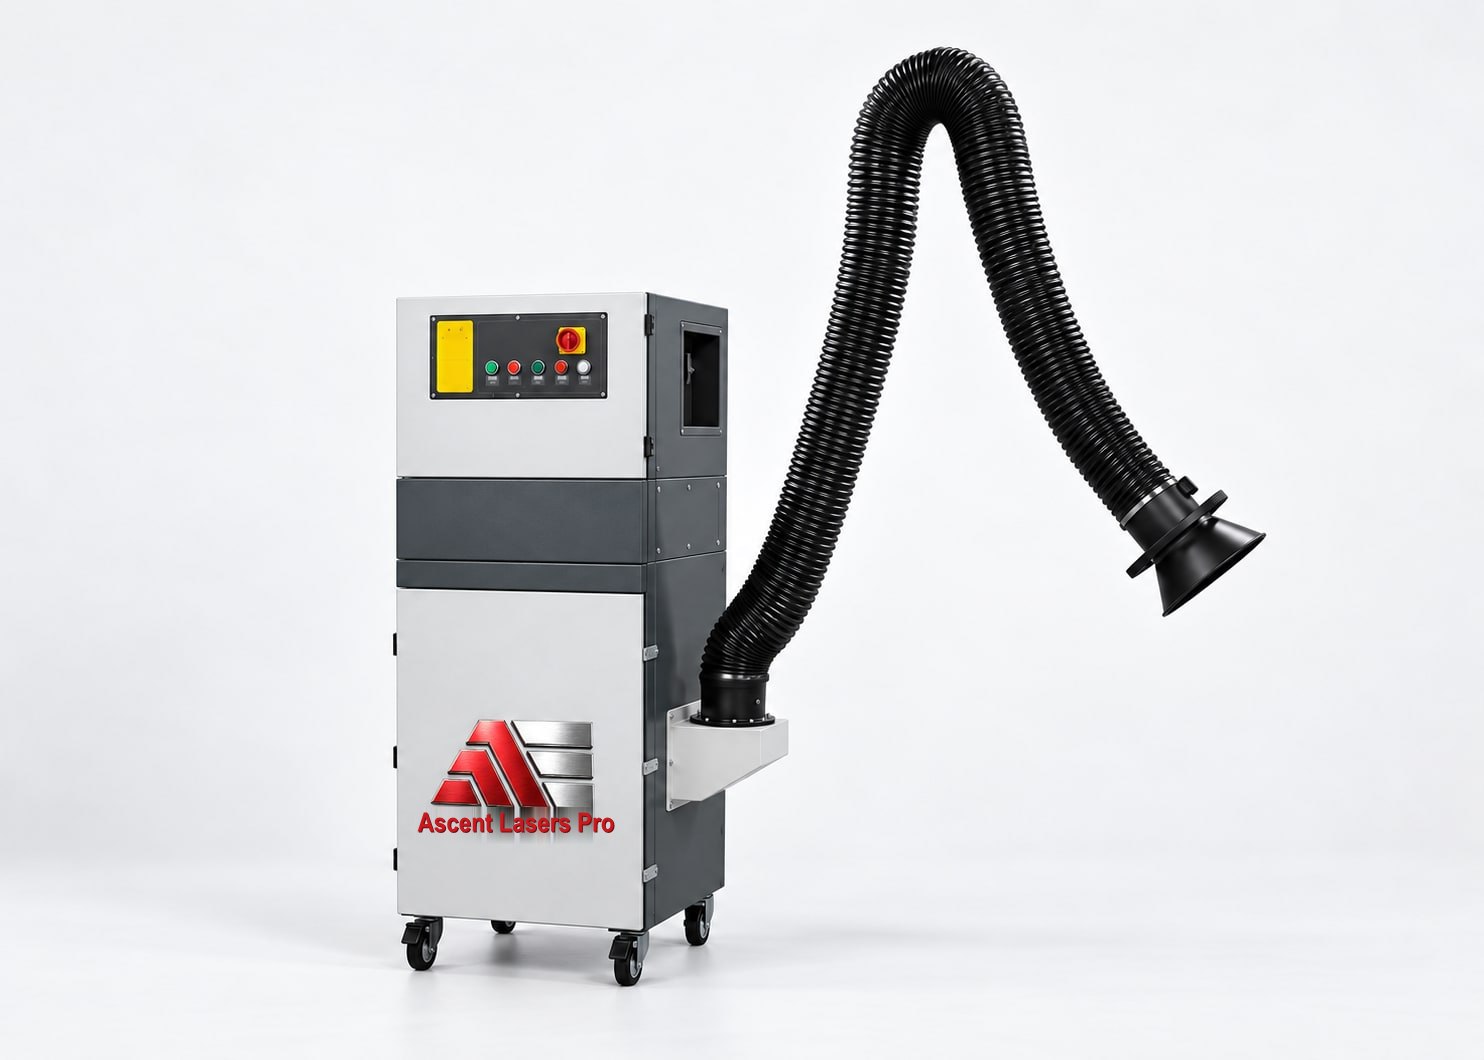
Laser welding on aluminum and stainless in particular releases fine particles even when little smoke is visible. Those fumes are regulated, so they have to be captured where they're produced. Keep the extractor nozzle 50 to 150mm from the weld. At that range it collects what matters; beyond 300mm it just moves room air.
A portable fume extractor with a flexible arm works well, and so does a shop fume arm over the table, especially if you move around.
Propped-open doors and ceiling fans don't count. Capture has to happen at the source. Fit the extractor with a HEPA filter for particulates and an activated carbon stage for vapors, and replace filters on schedule, since clogged filters send the fumes back into the shop.
5. Machine and cable management
Between the power, gas, wire feeder and torch lines there are cables everywhere, and neglecting them invites tripping, snagging and expensive repairs. Run them along the table's edge or overhead, never across the floor, using hooks or an overhead cable track.
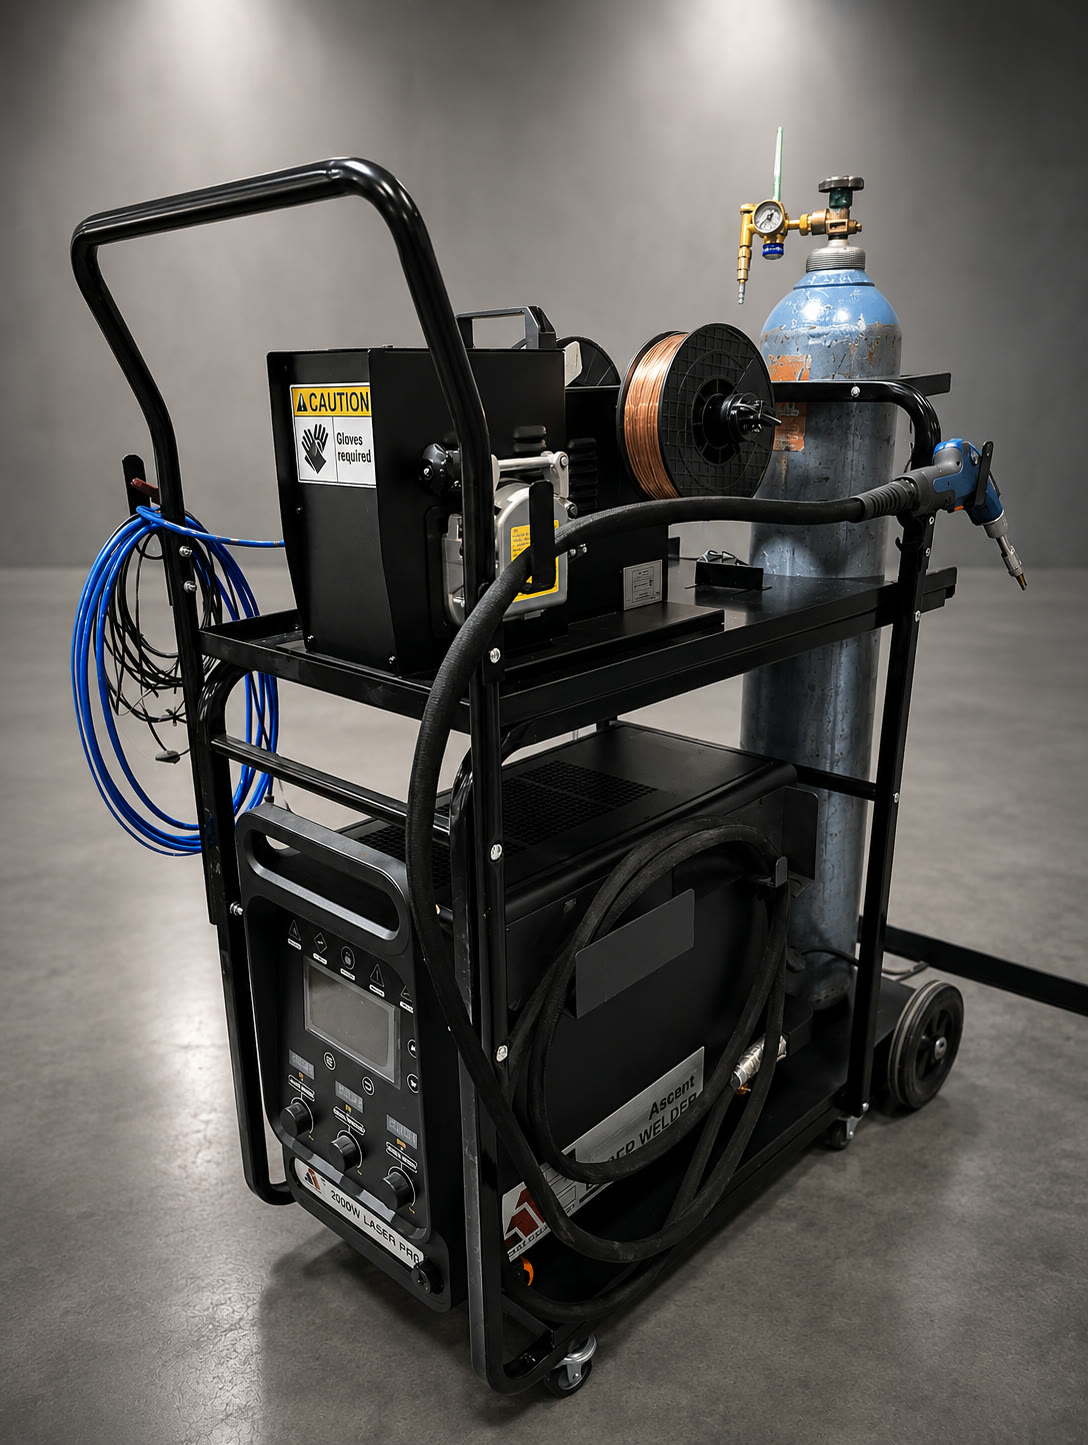
Seat the argon cylinder in its holder on the cart, with the regulator and gas line going straight to the machine rather than lying on the floor, and strap the cylinder down so it can't roll or be knocked over.
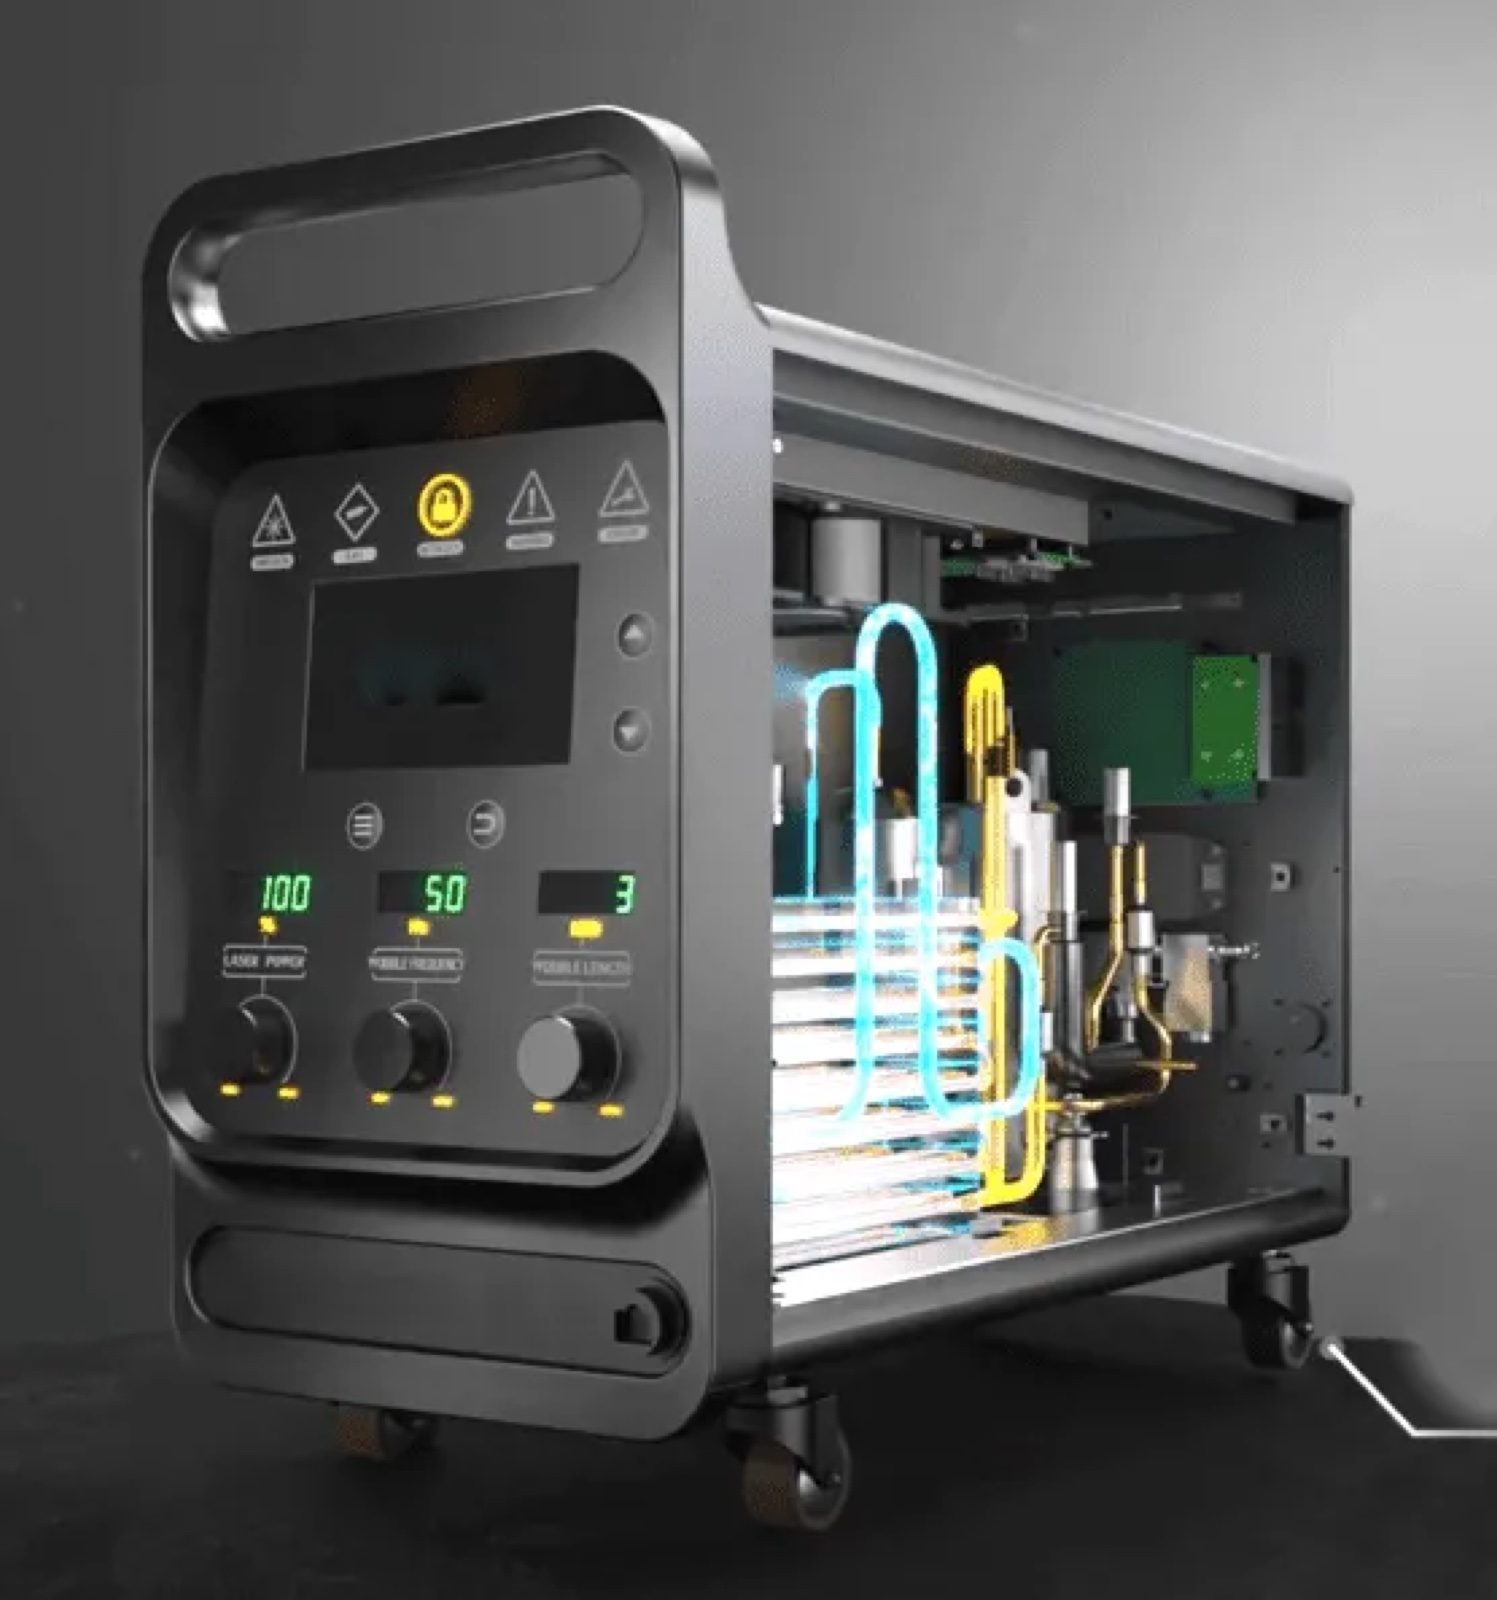
On a water-cooled machine, avoid kinks in the coolant lines and leave enough slack for the head to reach the whole table. The Ascent handheld welders are cooled by a refrigerant heat pump, so there are no water lines to route.
One tip: park the cart on your non-dominant side. Right-handed operators should have it on the left, so the welding cable comes from there and never crosses the body.
6. Fixtures within reach
"Where are the clamps?" is the most common complaint, and clamps that aren't at the table don't get used. Keep these on the table or on a small cart beside it:
- Copper backing bars of various widths, in a tray
- Magnetic clamps of several strengths, for steel and stainless
- Toggle clamps, for non-magnetic aluminum
- Locking pliers, for awkward parts that can't be fixtured
- A stack of pre-cut graphite felt pads
- V-blocks or angle iron for odd shapes
- A small deburring tool for edge prep
Keep these just off the table: laser safety glasses (minimum OD 5; prefer OD 7 or 8), one pair for you and spares for visitors, hung by the entry curtain; a first aid kit on the wall just inside or outside the zone; and laminated emergency instructions with contact numbers.
7. Daily startup checklist
A good setup only stays good if it's maintained. Post this checklist at the station and run through it before the first weld of every shift:
- Laser safety glasses hanging at the entrance
- Welder lens clean
- Coolant level correct and clean (water-cooled machines only)
- Shielding gas flowing at pressure, with the valve open
- Fume extractor running, with the nozzle placed correctly
- Cables and hoses tidy, nothing across the floor
- Curtains in place and the zone marked
- Copper bar and graphite felt pads on the table
- First aid kit and emergency contacts in view
That's nine checks and under a minute. Repeating them every shift keeps the station running smoothly and safely.
A workstation tuned before the first weld spares you and your crew years of annoyance. If your shop has an awkward layout, or you want help planning a custom setup for your Ascent welder, get in touch and our team will work through it with you.